

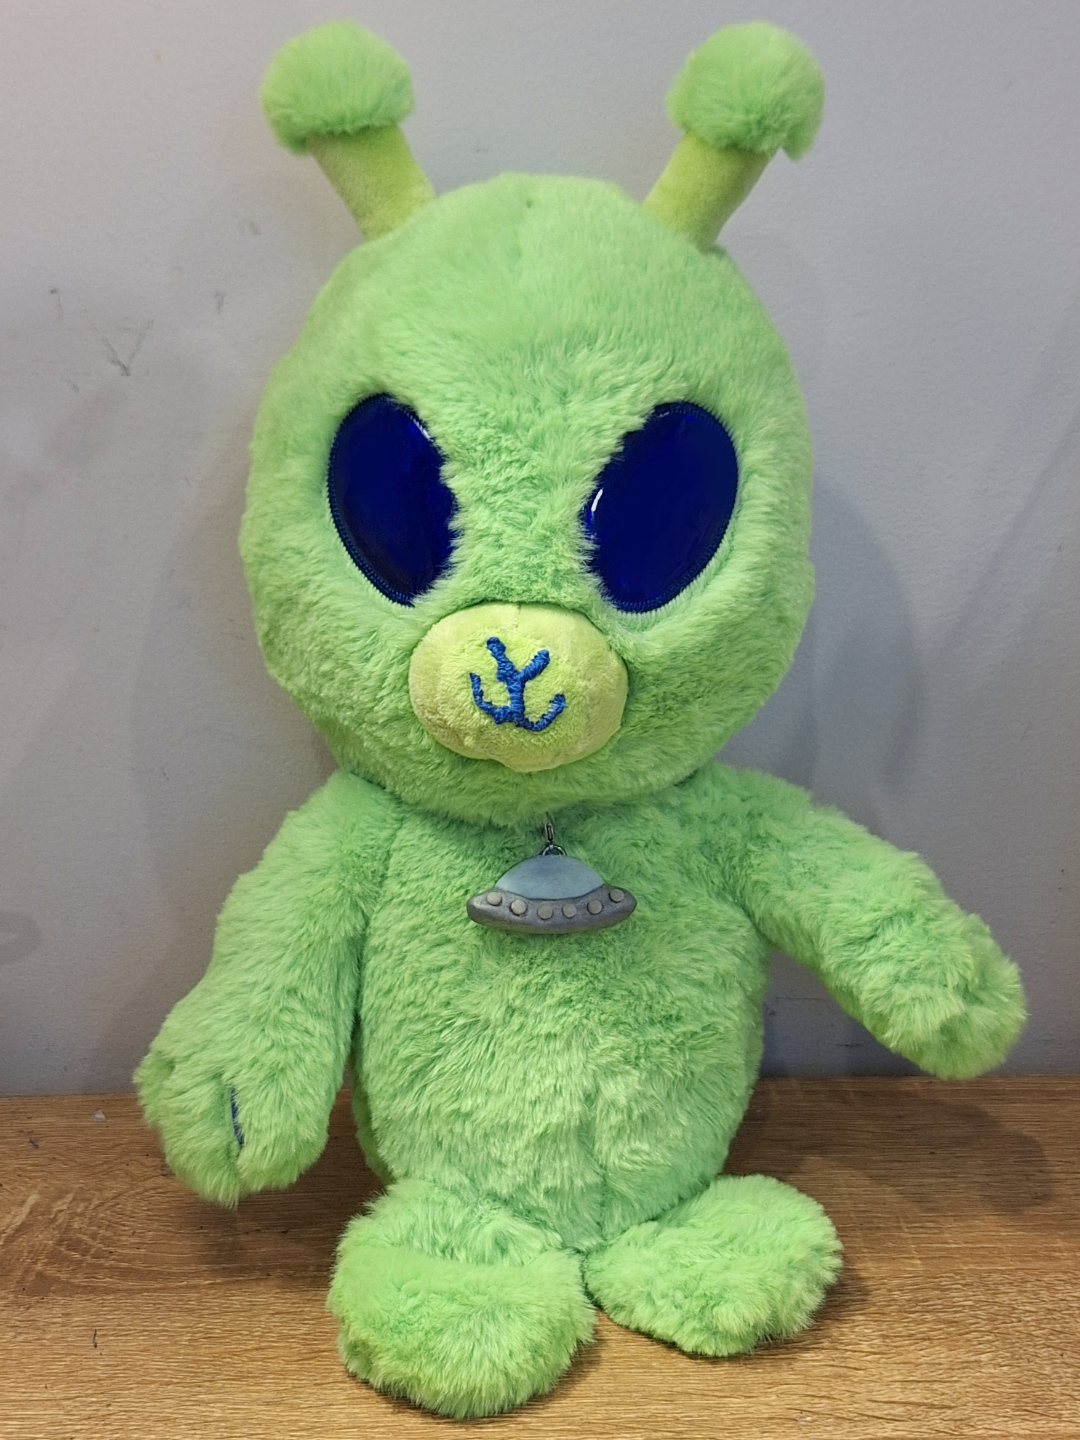
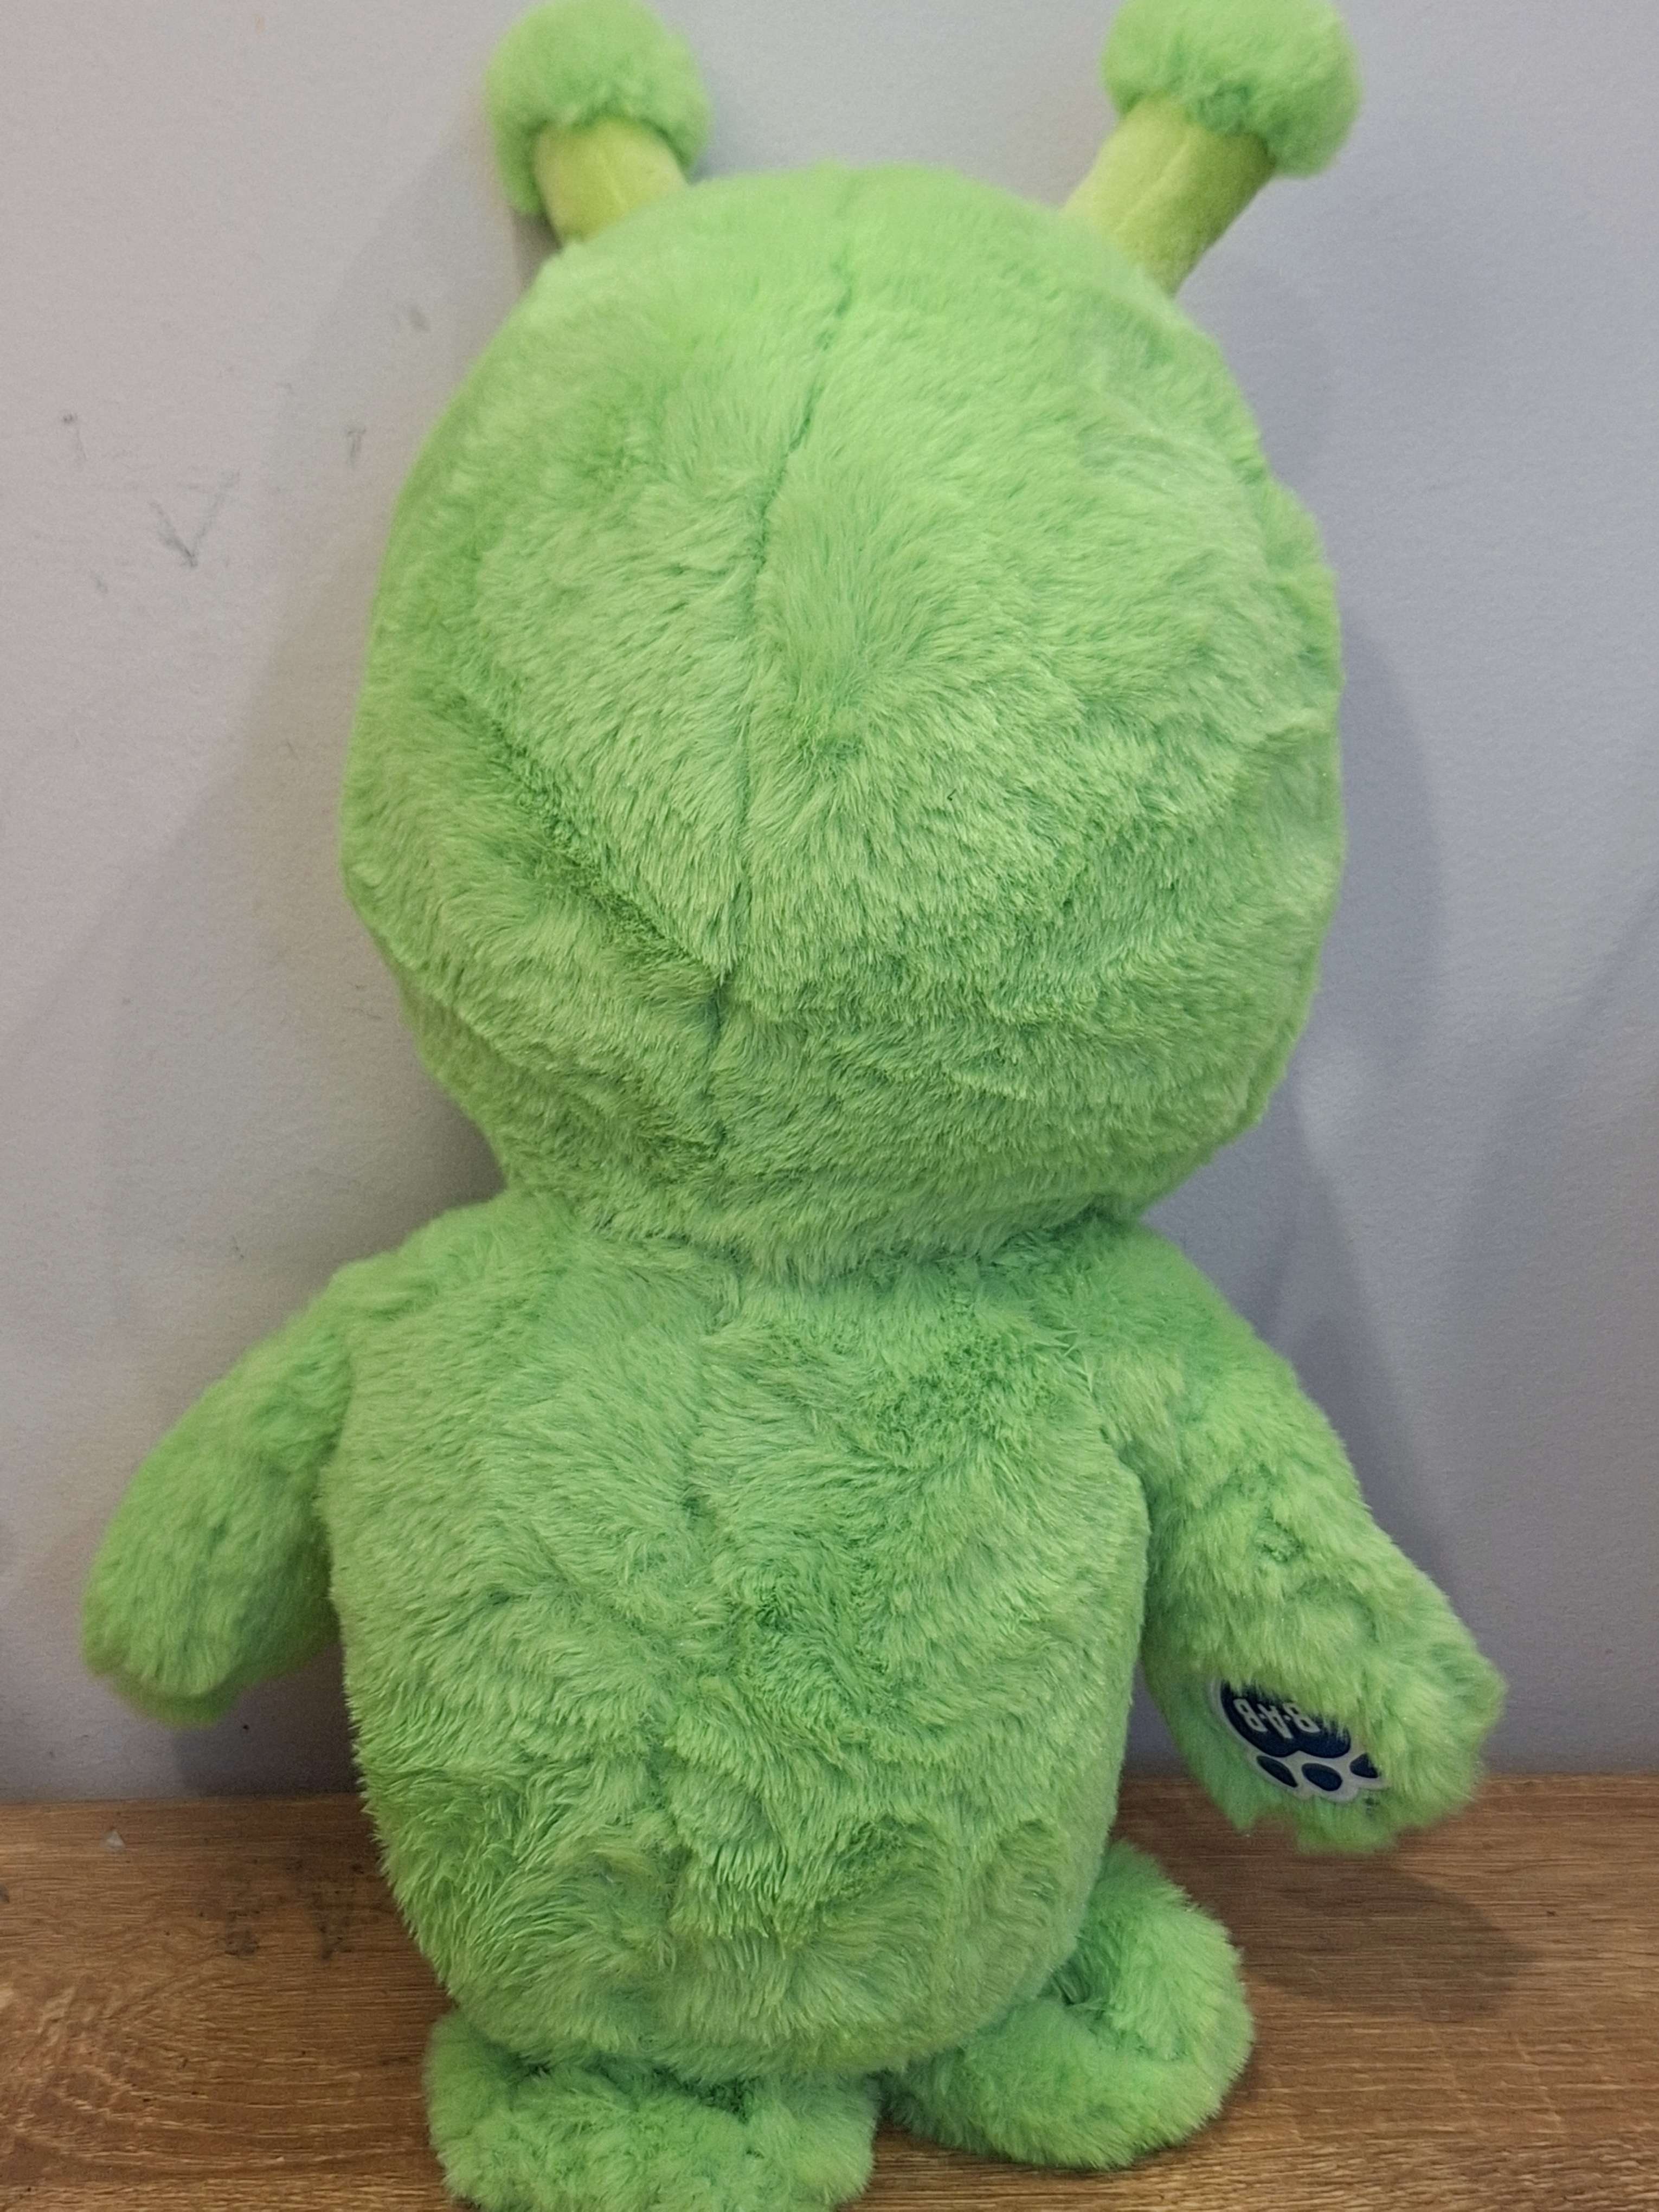
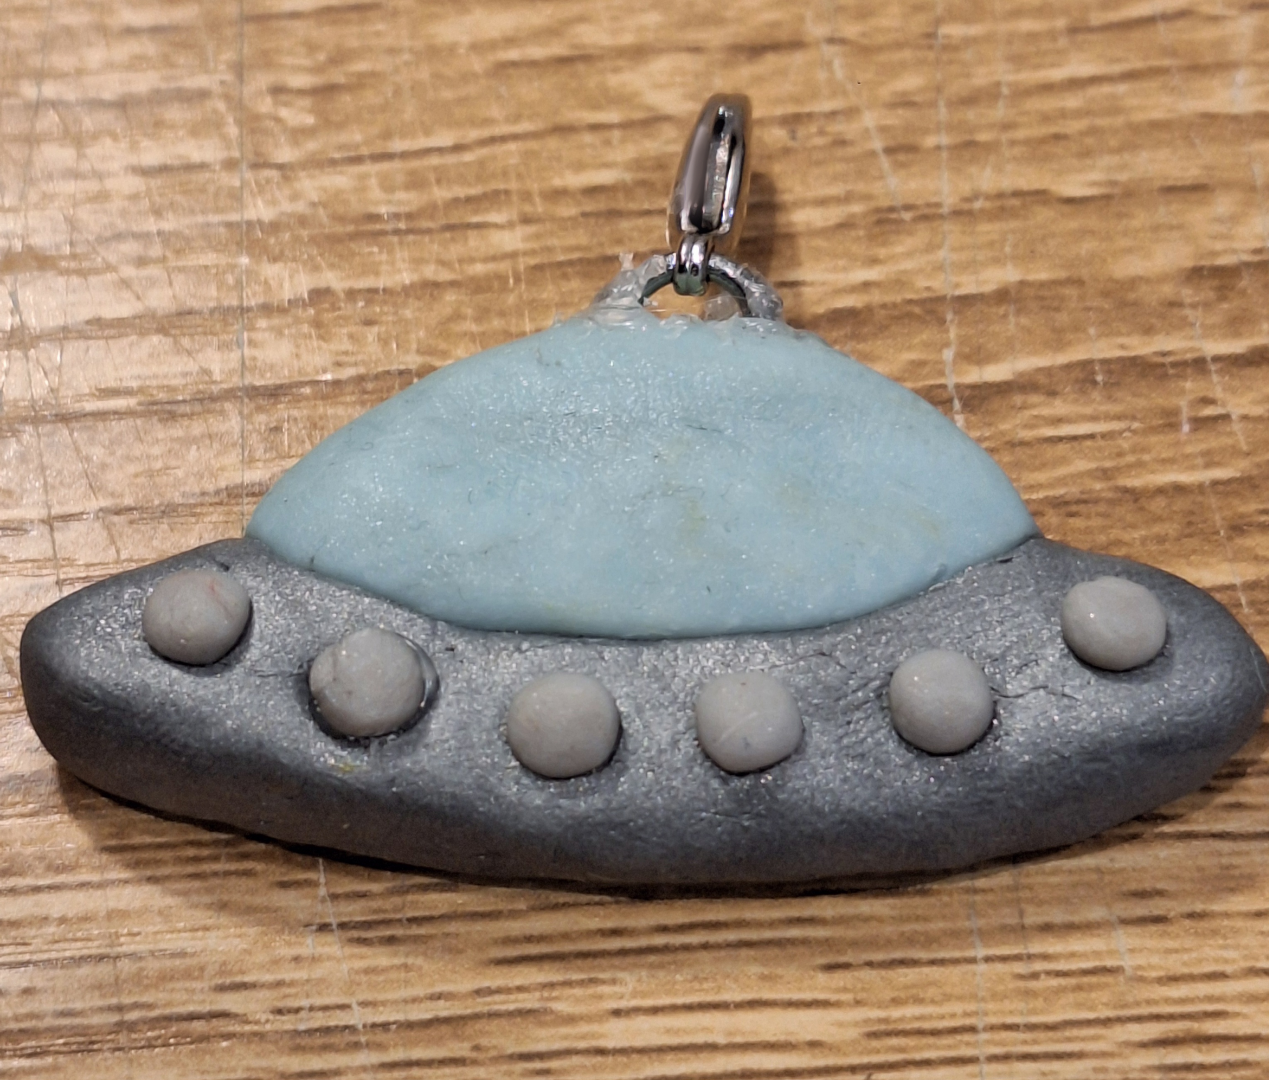
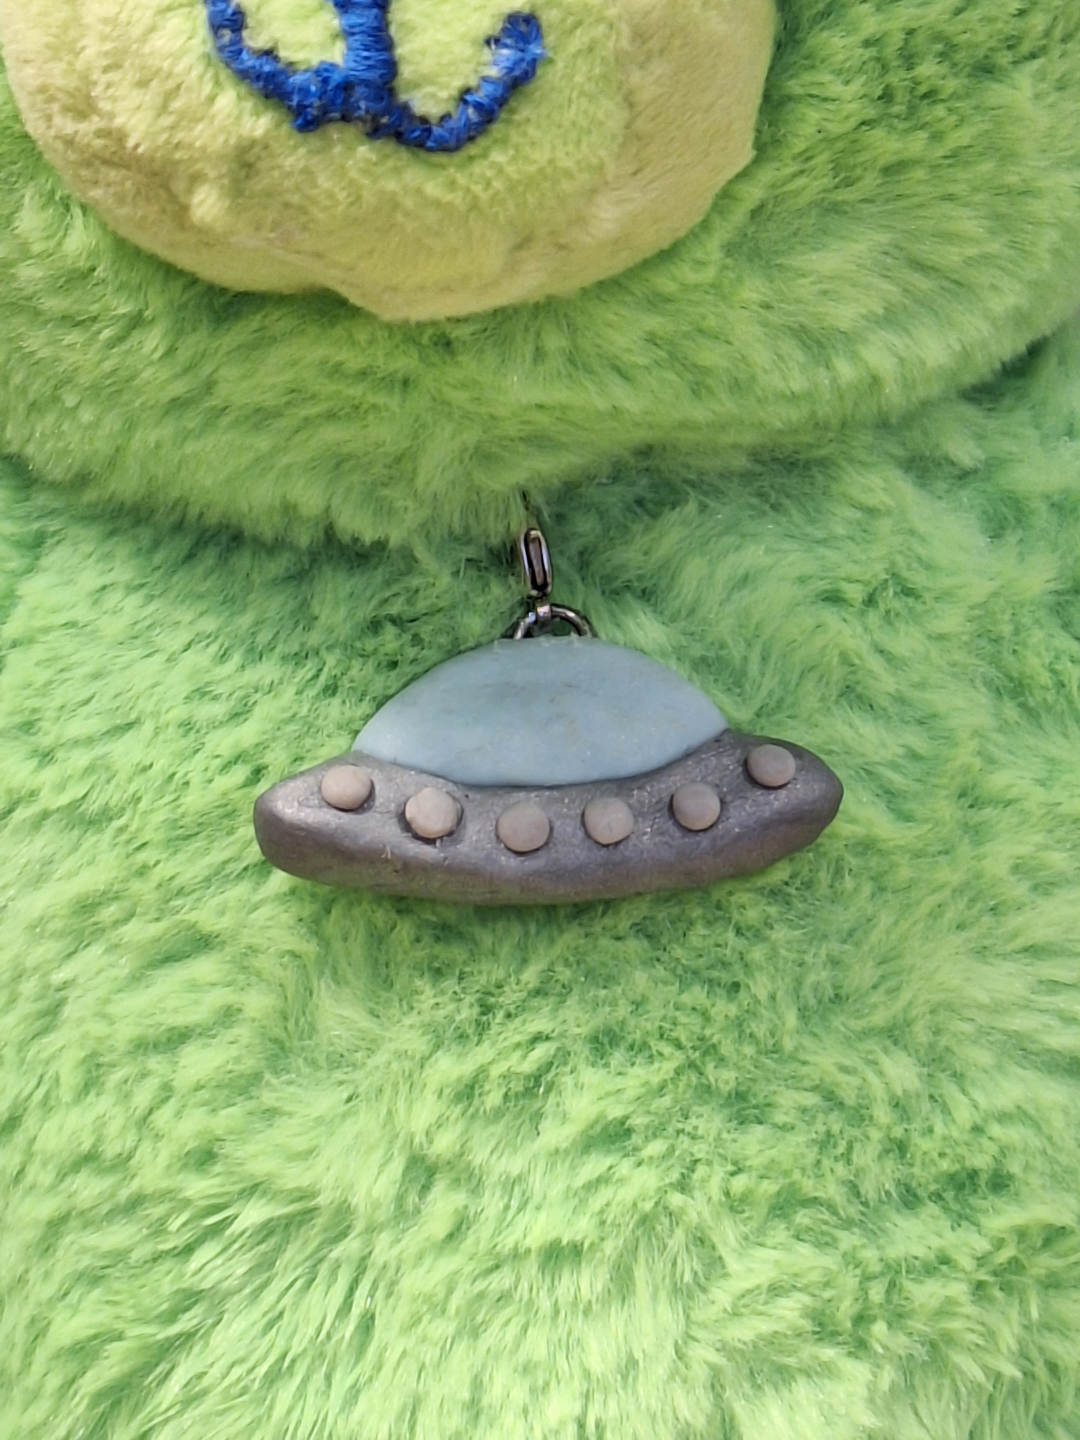
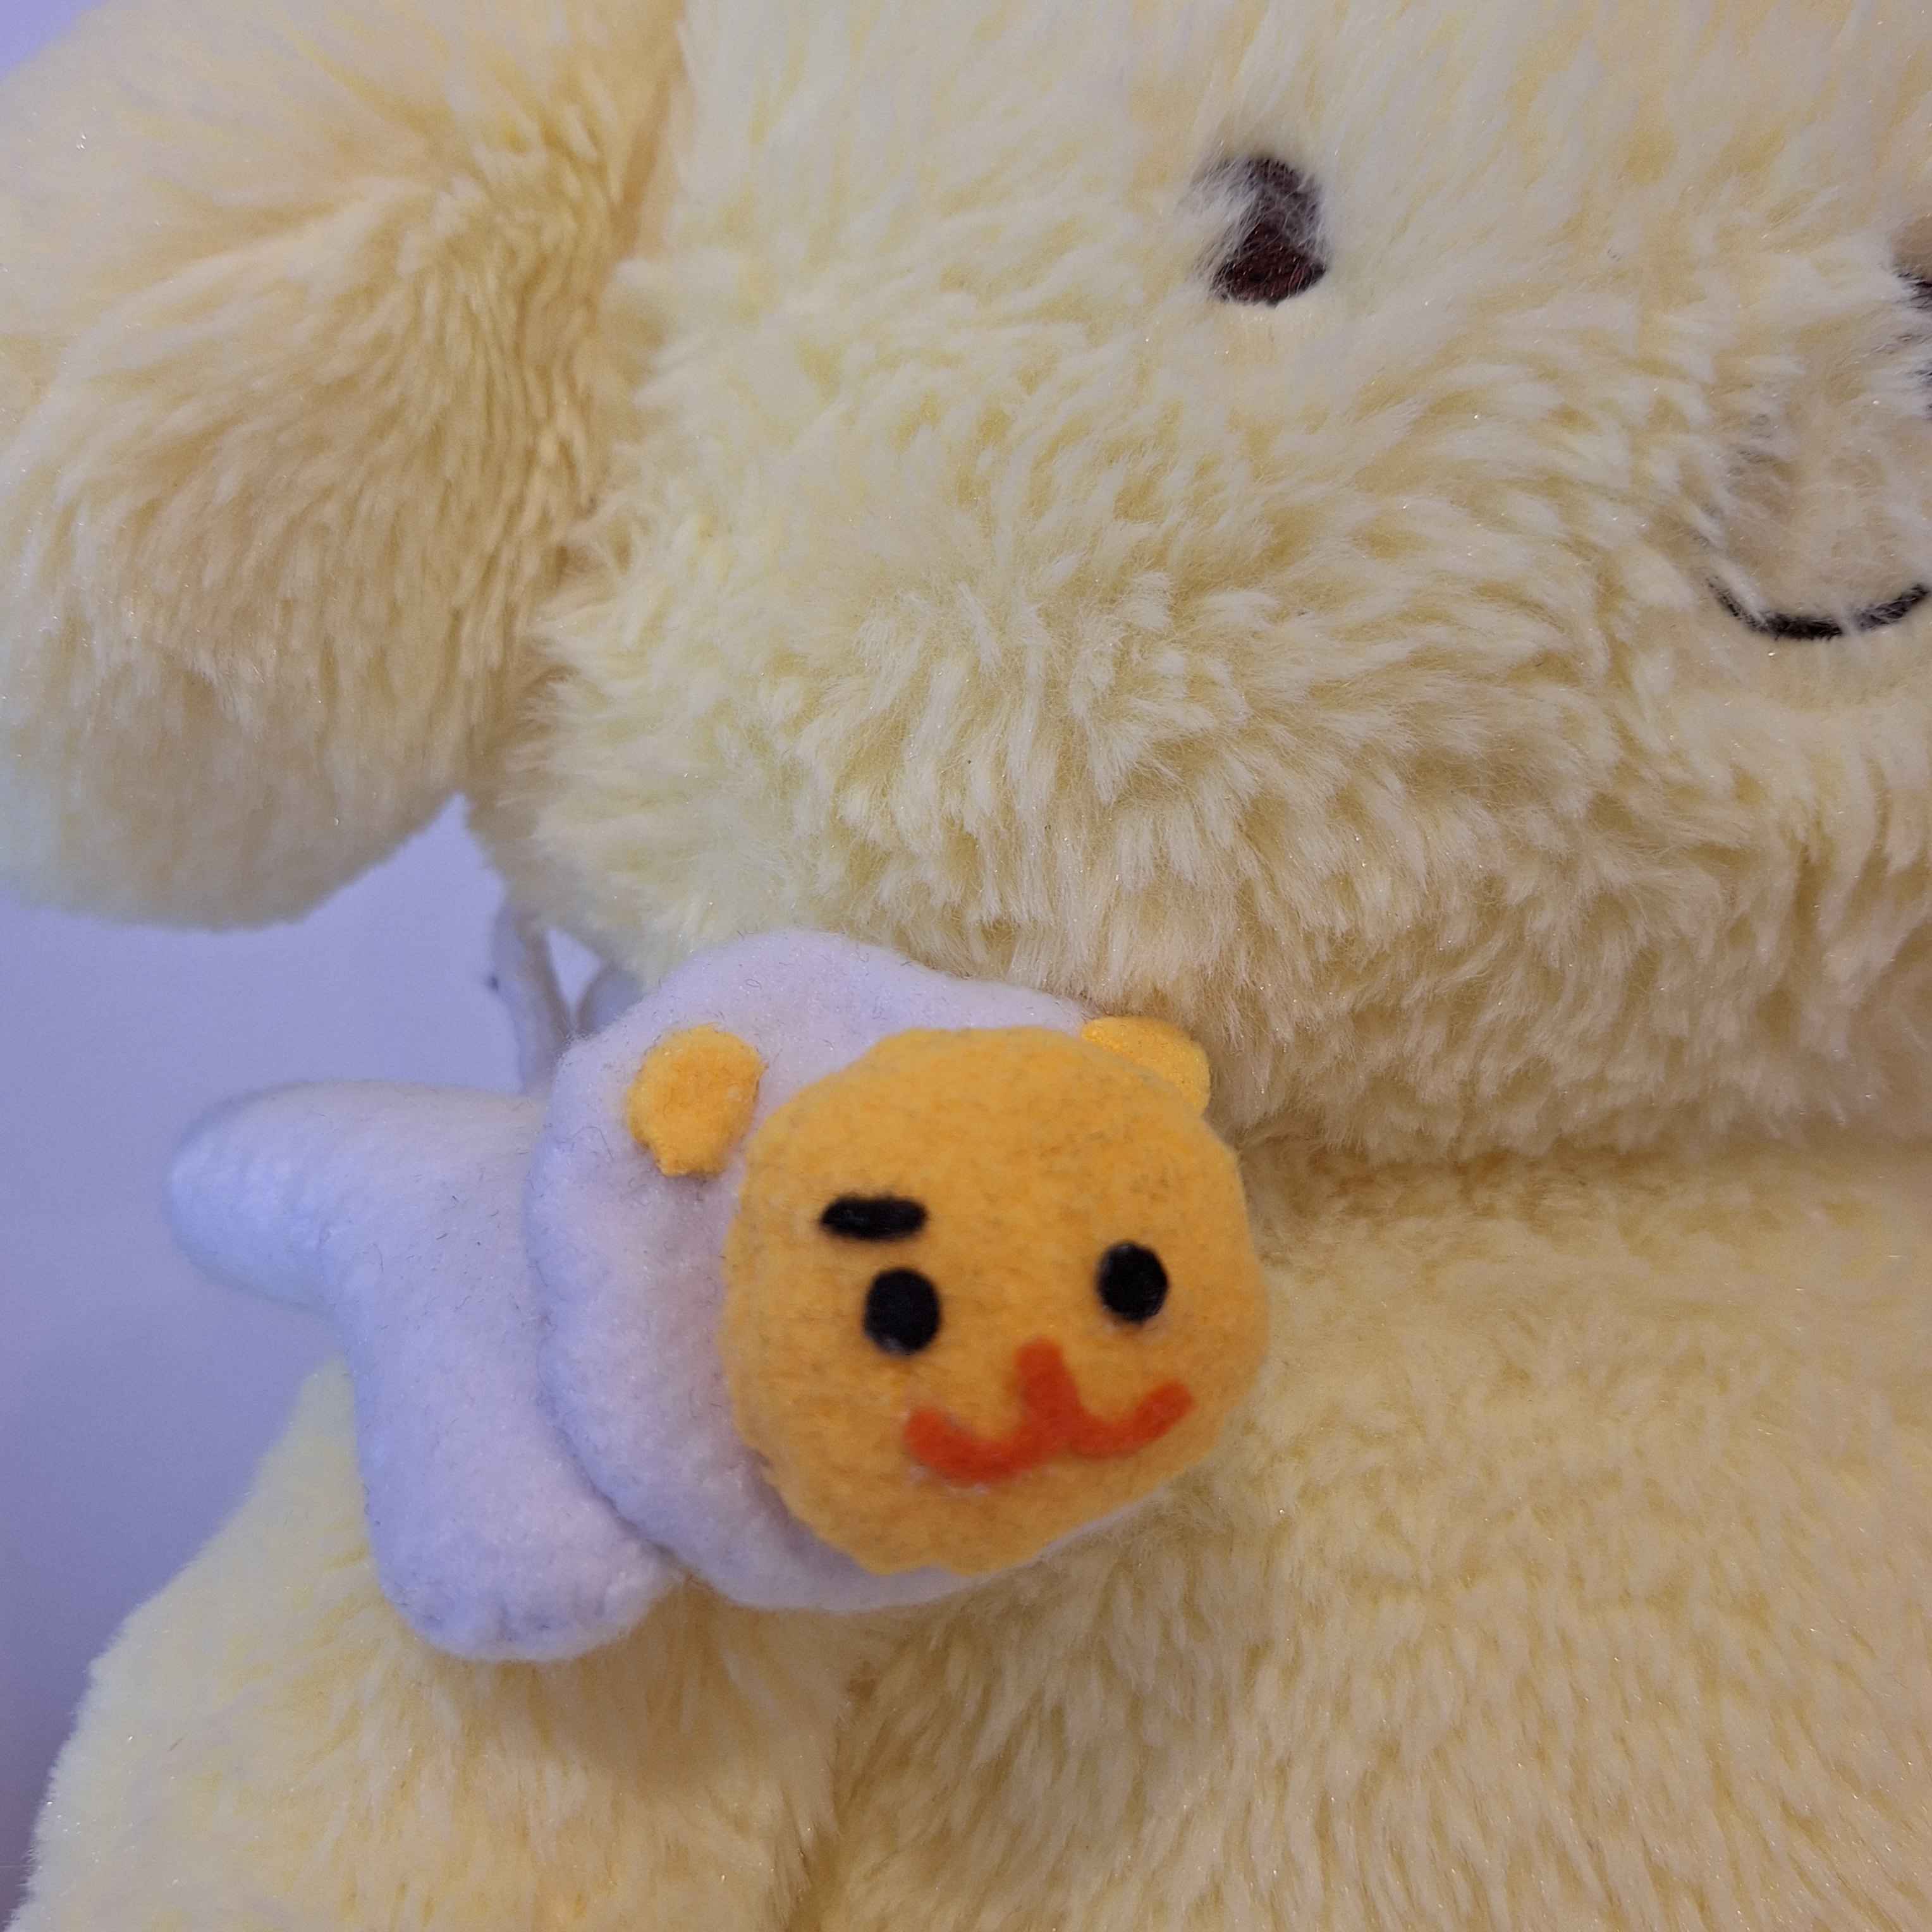
I included a little UFO charm (made from polymer clay & part of an old keychain) last minute since I thought it was a cute touch.
I did plan on adding a beam but decided to exclude it since I thought it would overcrowd the design.
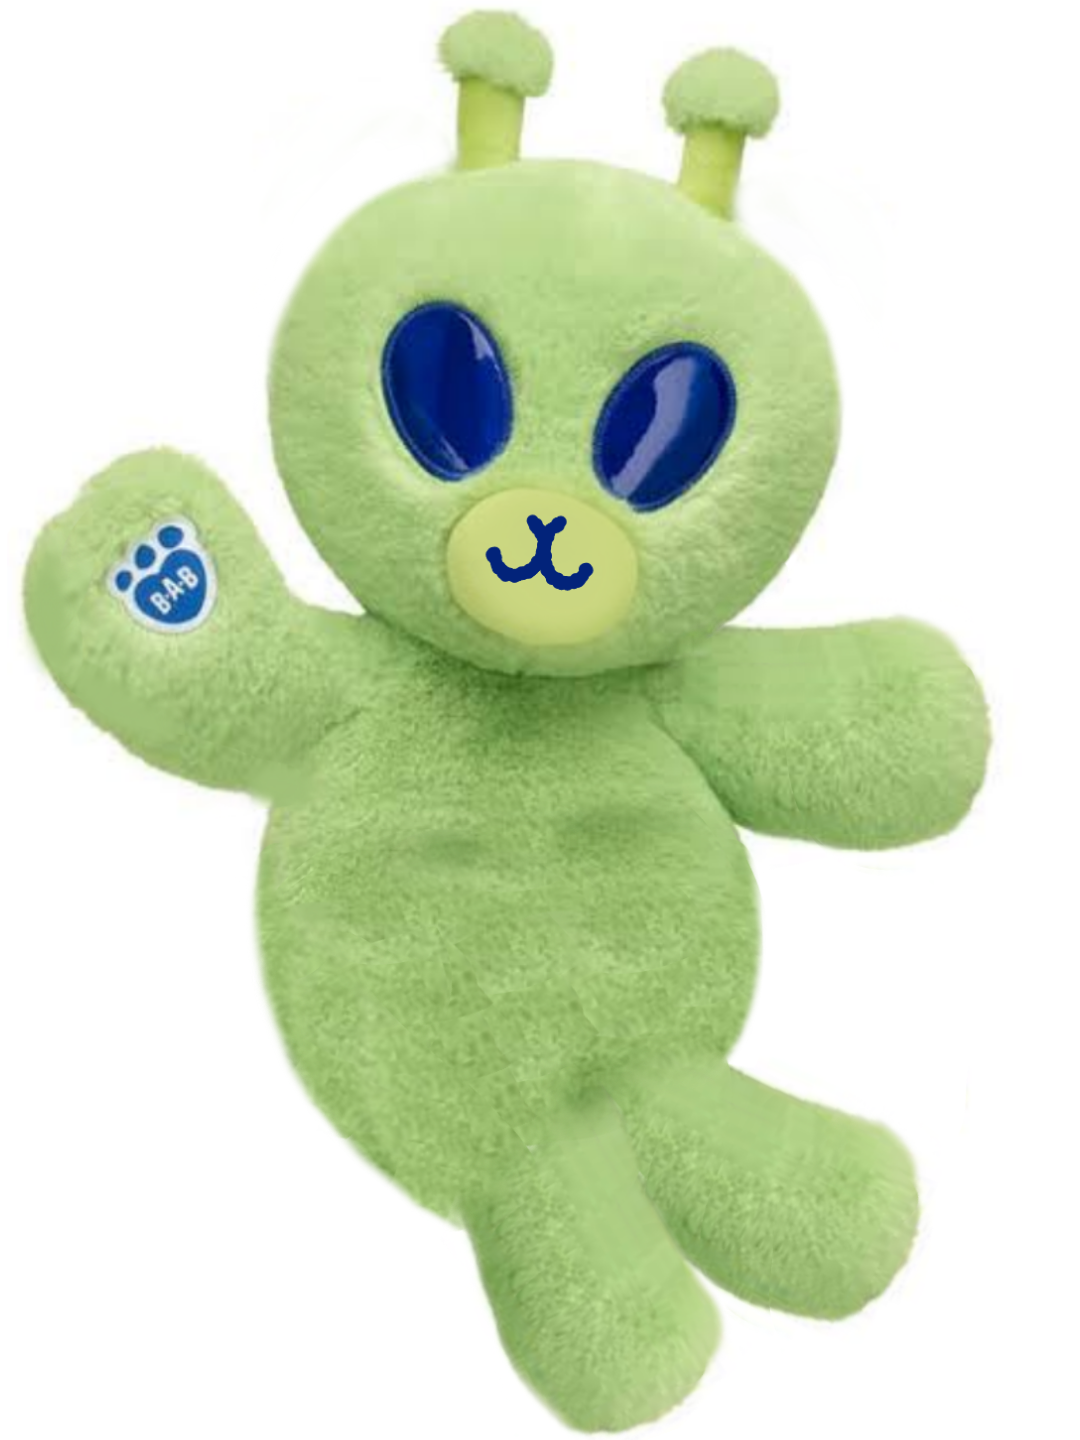
I modified a stock image of the Build-A-Bear Bearlien plush from the BAB website to get a basic idea of what the plush might look like.
Even though it's my first time customising a plush (specifically modifying), I'm overall pretty happy with the results. It took around 1 month to finish (I took a few breaks in between, so it realistically would have taken me more than 1 week). There was definitely a fear at the back of my head that I would totally mess up this custom and destroy it,especially at the beginning and I feel like that probably contributed to me taking to finish.
One big mistake was on the right arm where I accidentally cut it too much and that left a big gap. Luckily I was able to find some scraps from the Bearlien and patched it up. It's definitely noticeable, since the right arm is a bit more lumpy than the left but I'm glad I was able to fix it as best I could.
The flippers (which I modified from Bearlien feet) are quite short. I think I should have made it longer, but it works for what it is. The mouth embroidery is kind of wonky but it serves its purpose and tbh has some charm to it. I tried my best to find a fabric that was the closest in colour to the mouth fabric on the Bearlien plush (Lime Green Minky), but it still ended up a couple shades brighter compared to the original.
I did change the head shape quite a bit to a more oval shape compared to the more triangular look of the Bearlien and even concept art since I wanted to make the custom more distinguished from the original plush design plus I thought it also suited it better overall. There was definitely quite a bit of trial and error when making this plush, like changing the body to better fit the flippers. I originally didn't plan on changing the body after attaching the flippers but after revisiting the concept art and feeling like something was off I decided to change it.


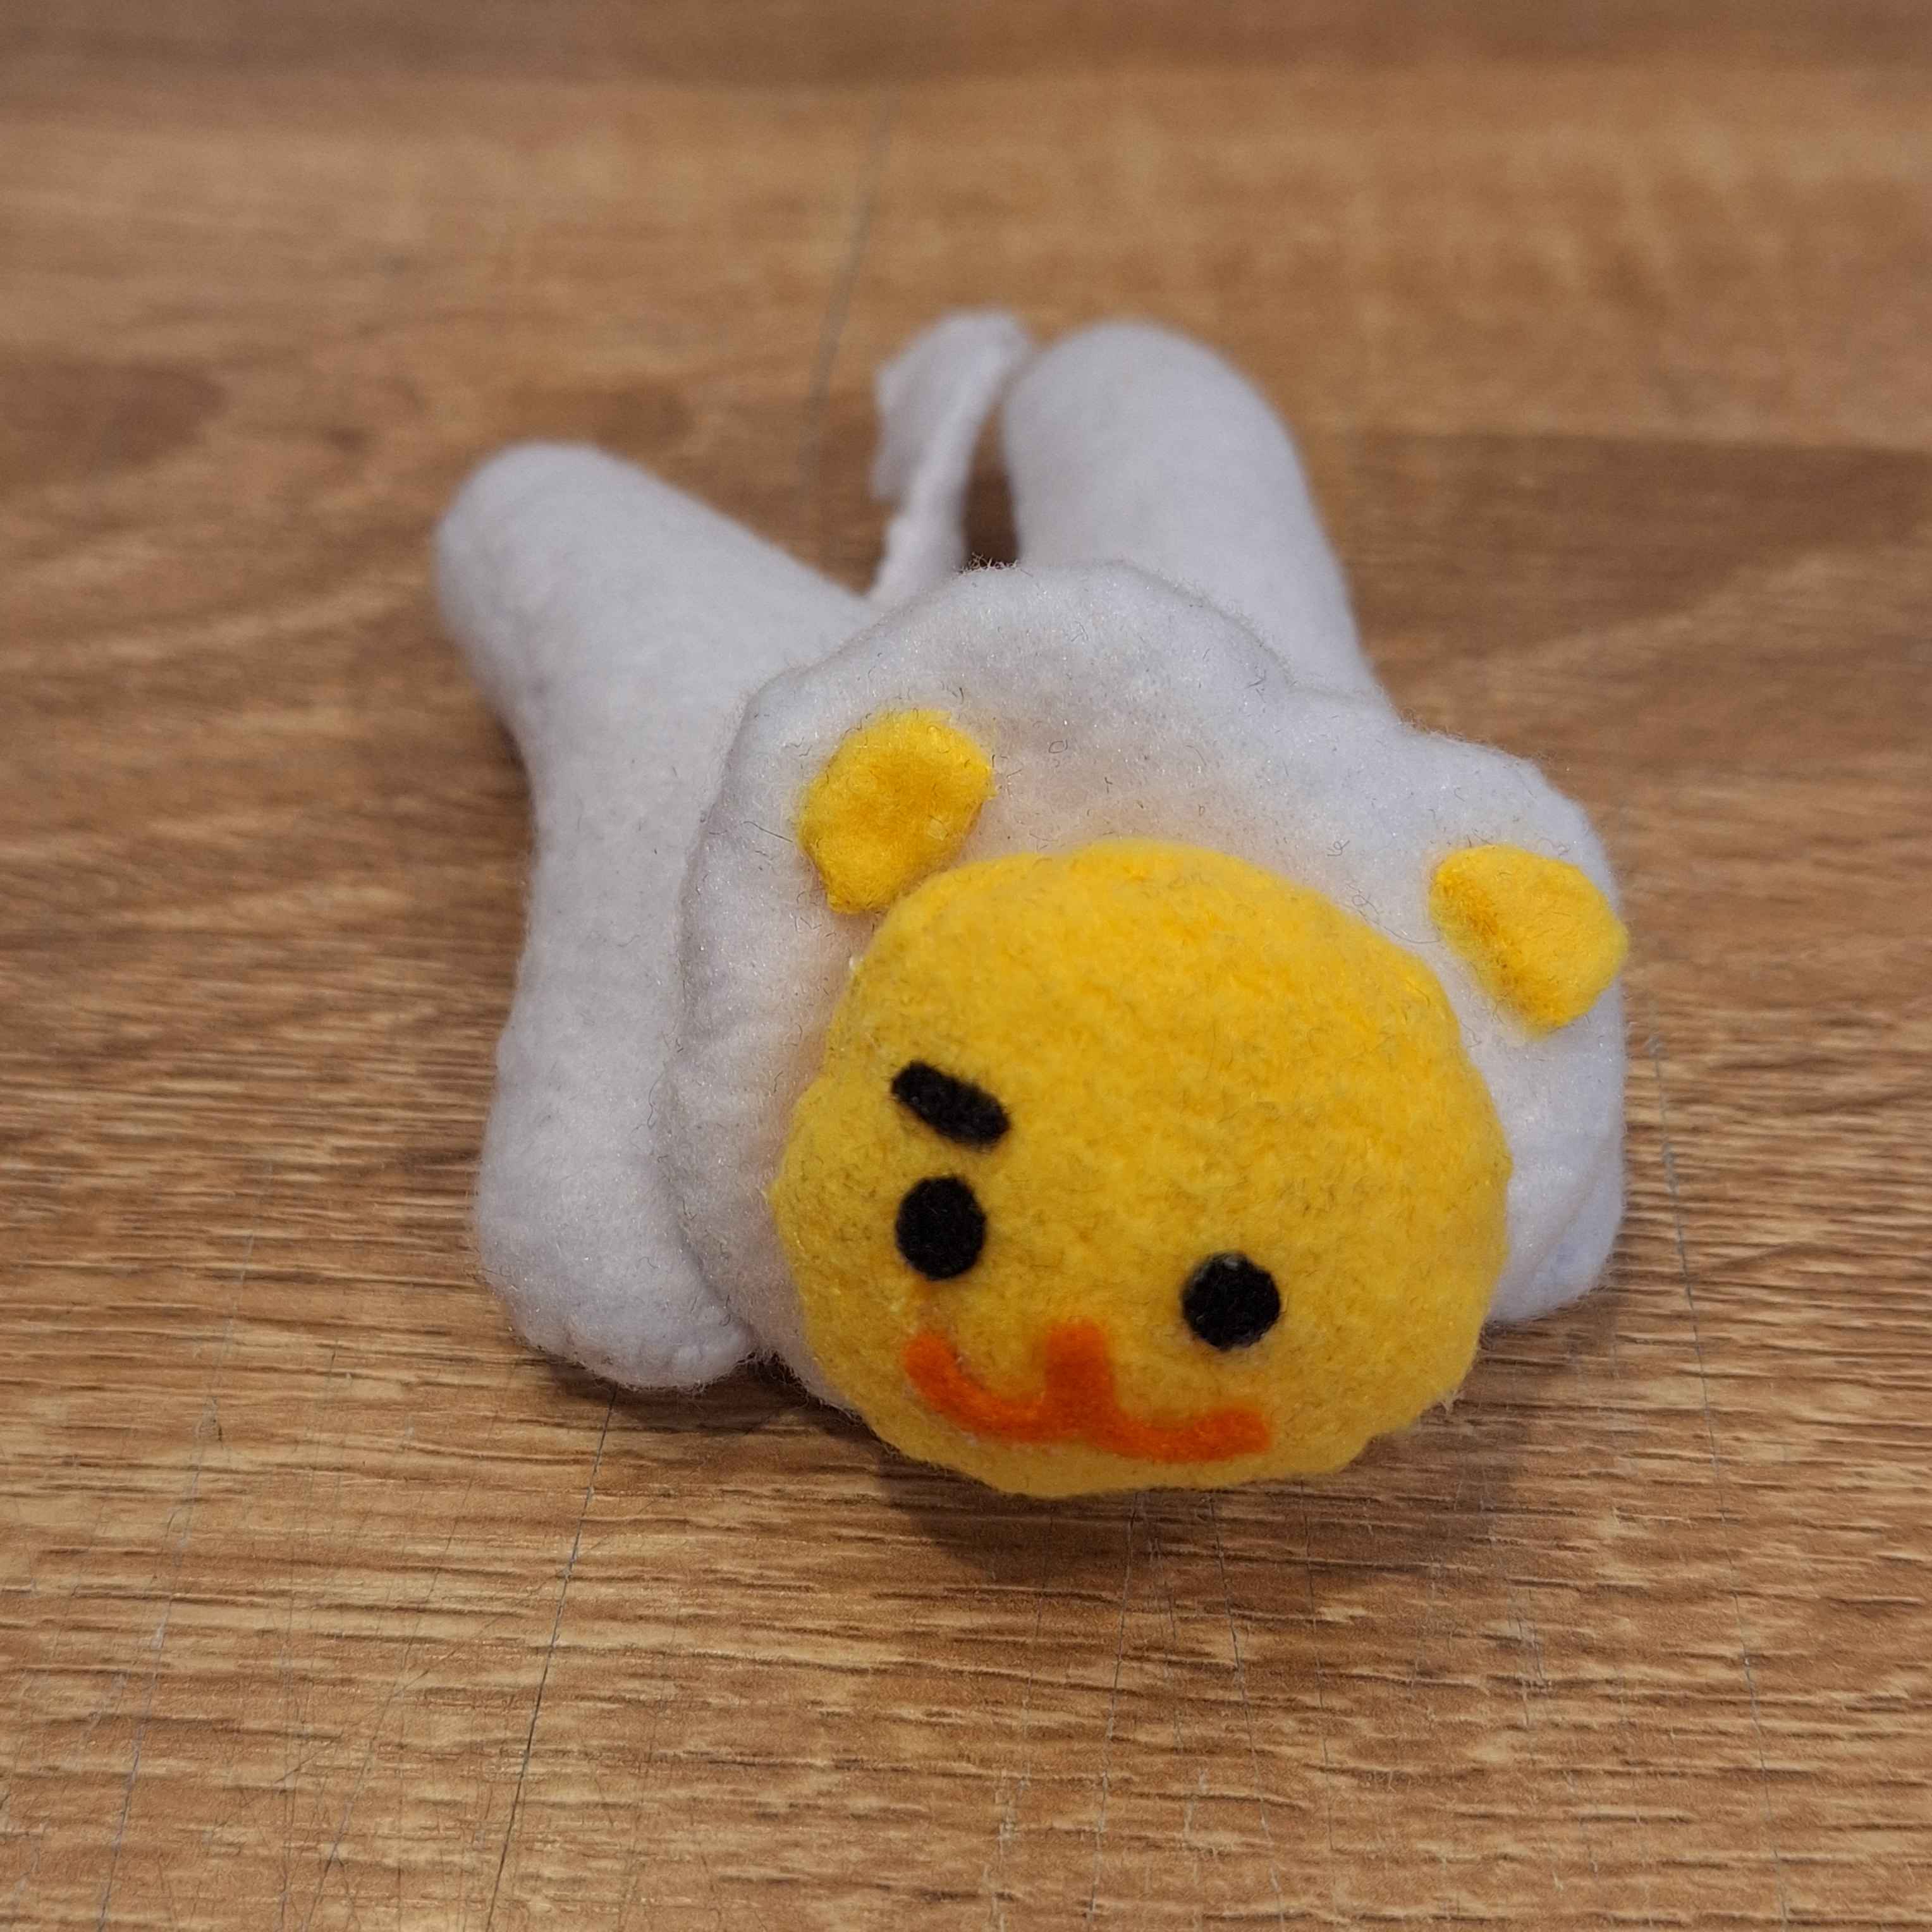
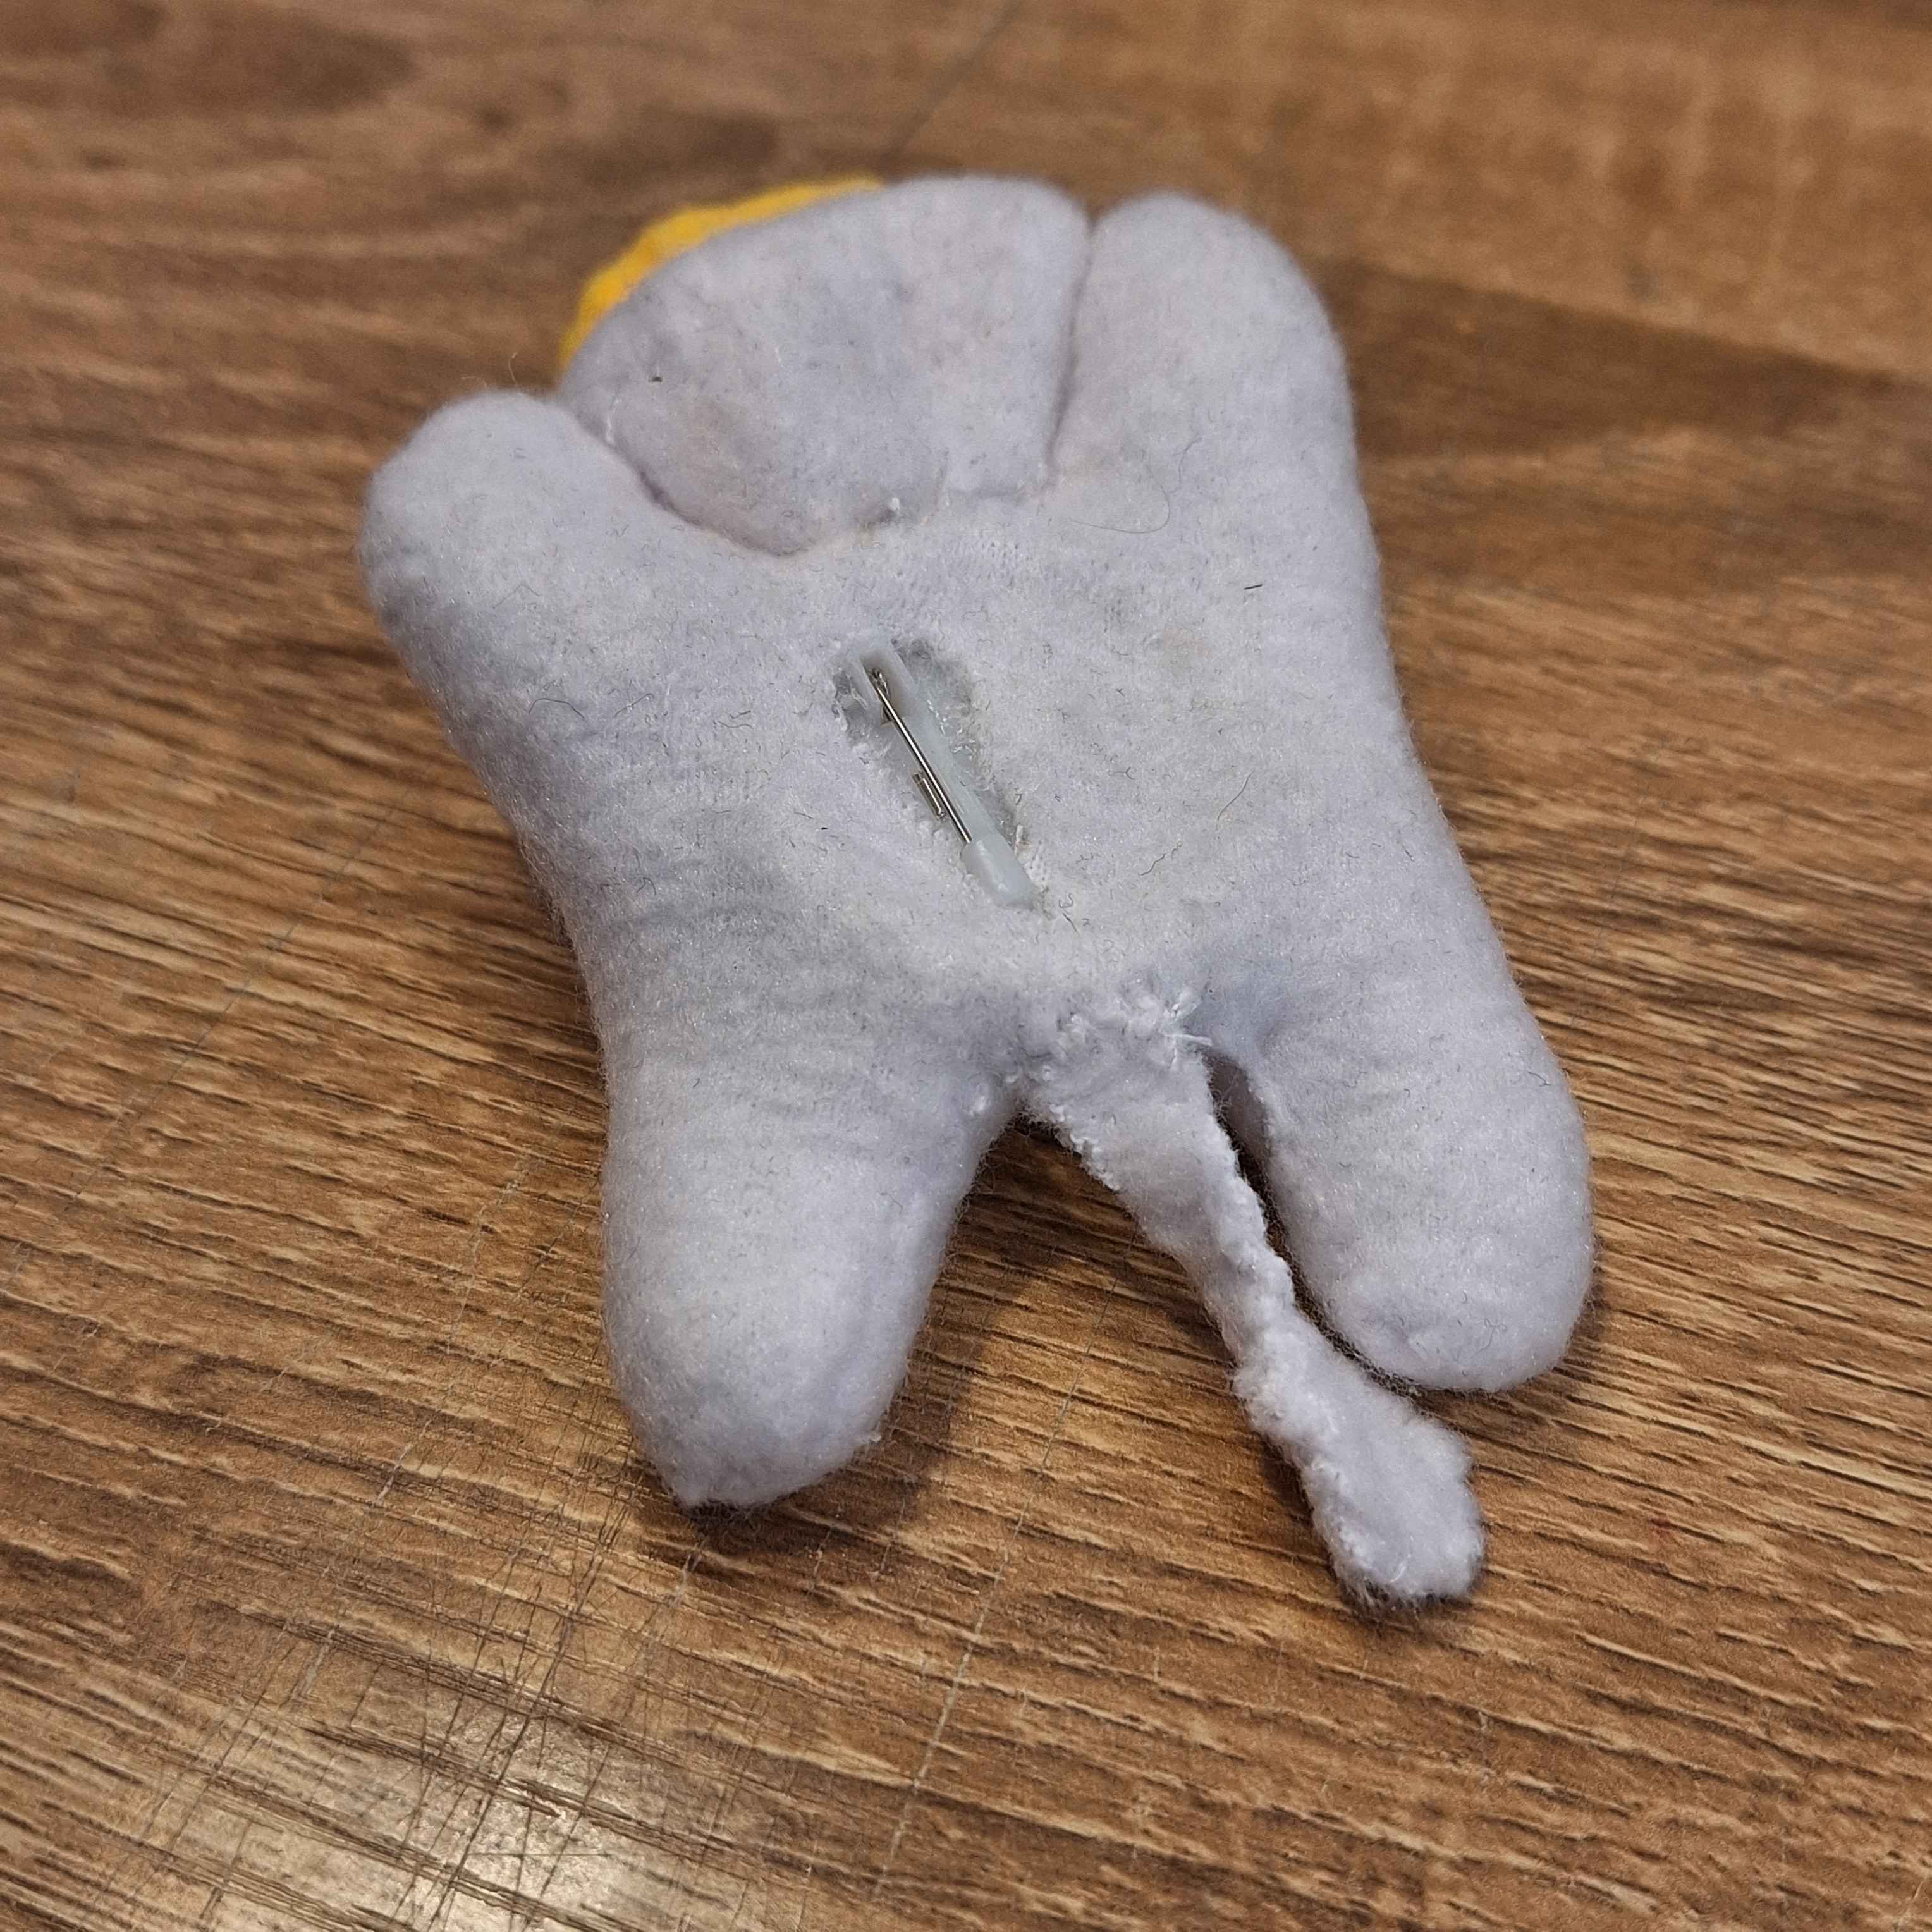
Back and front view of Sunny shoulder plush
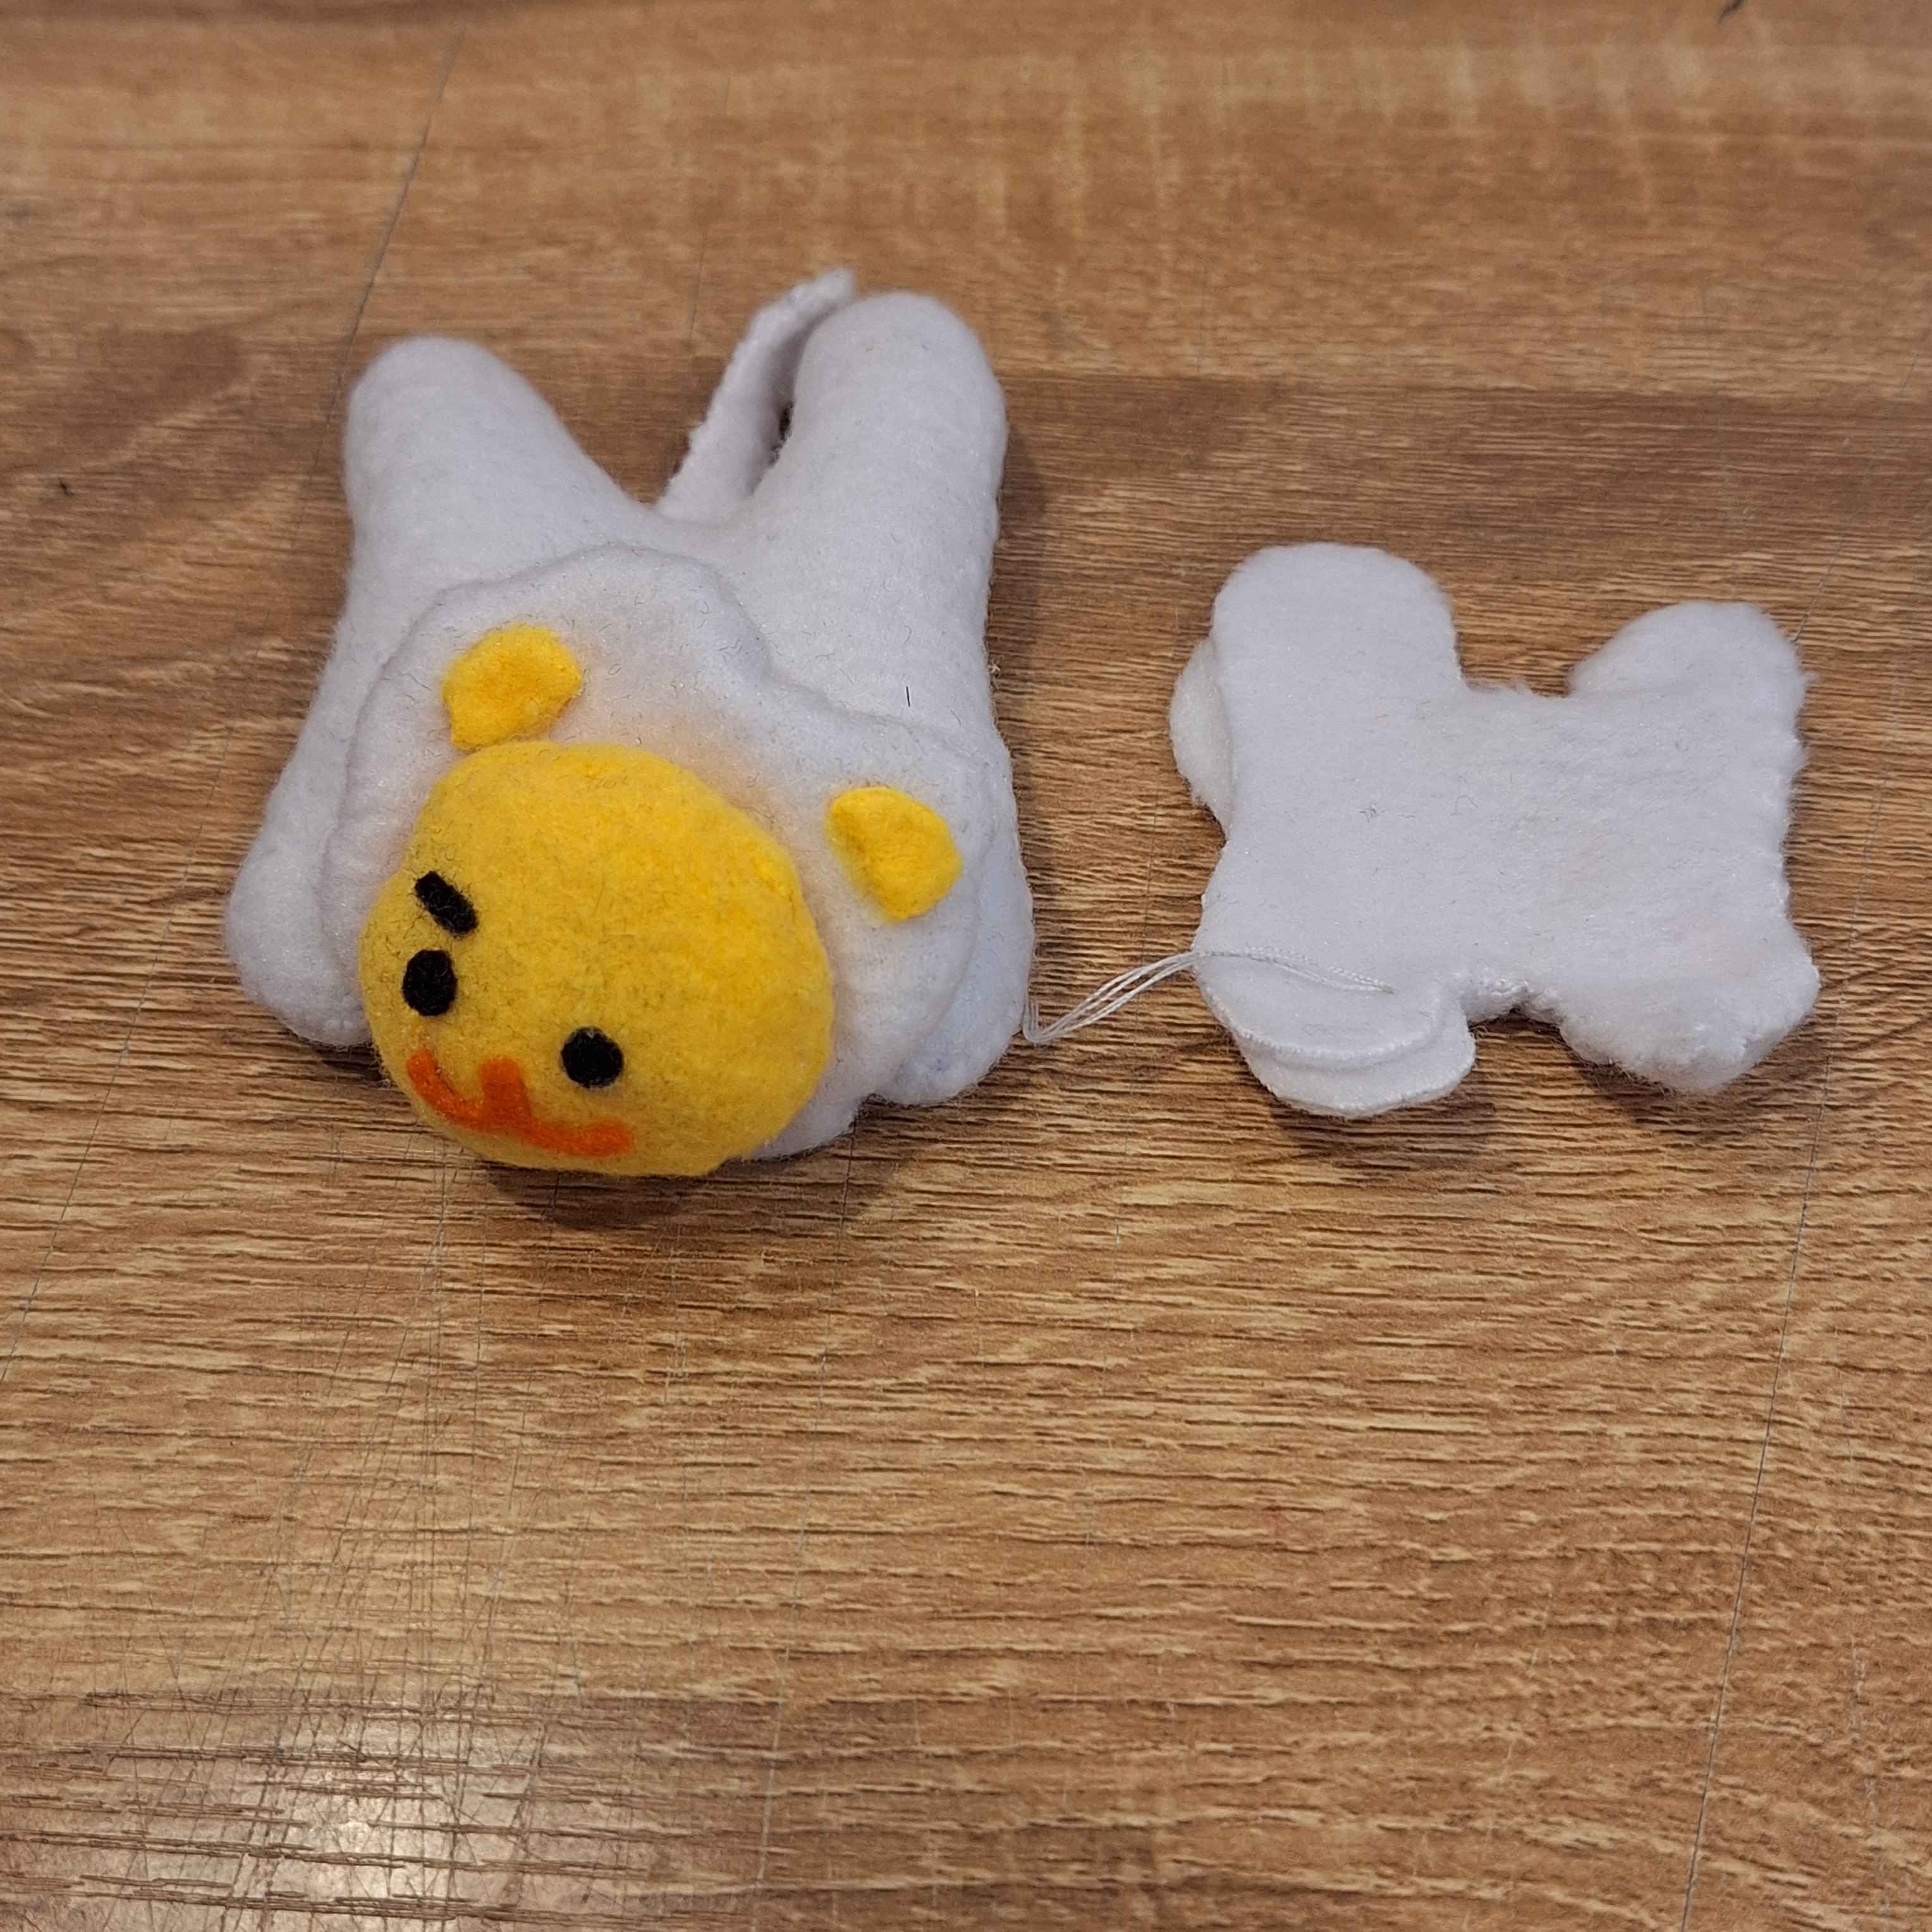
A comparison of the final Sunny shoulder plush and my first attempt at making the body. I realised after sewing most of it that the body was too small to fit the badge I planned on using so I needed to remake it before making the rest
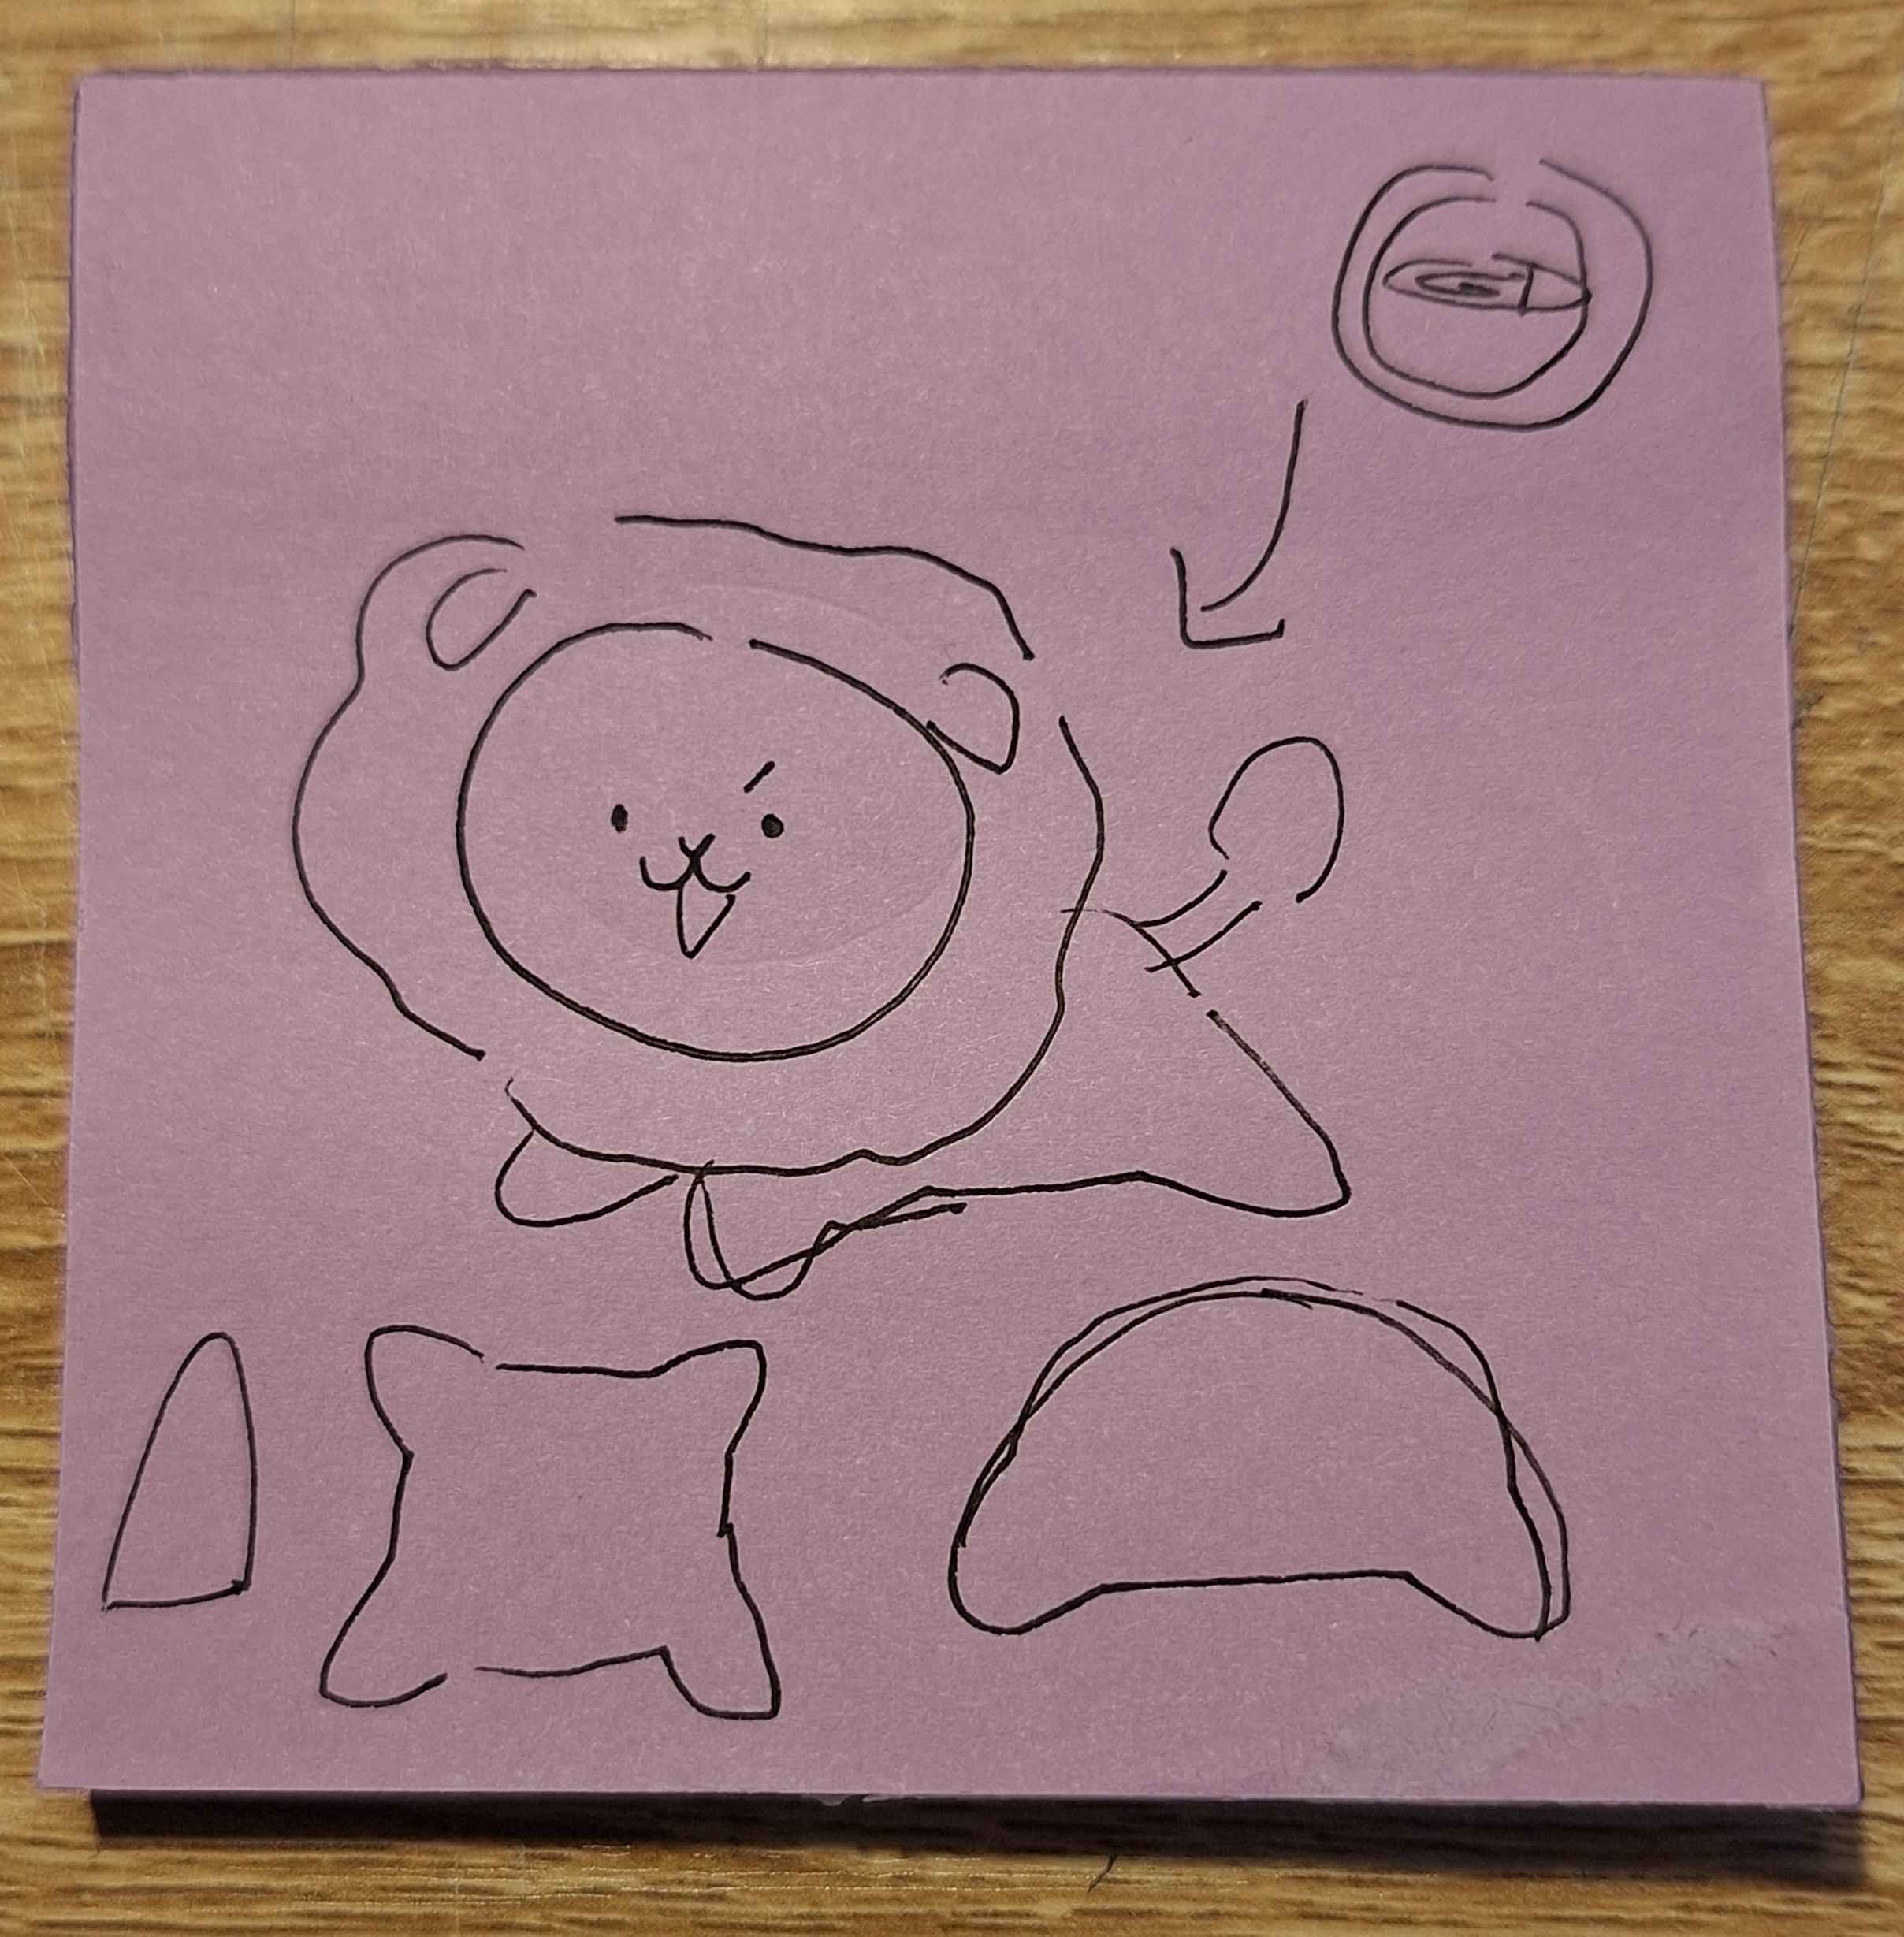
Design I sketched out of the general idea I had.
I definitely took a few attempts to get the pin to stick in place, the first attempt was to hold it in place with a bunch of thread, but the badge easily slipped out so instead I just hot glued it in place and that worked pretty well.
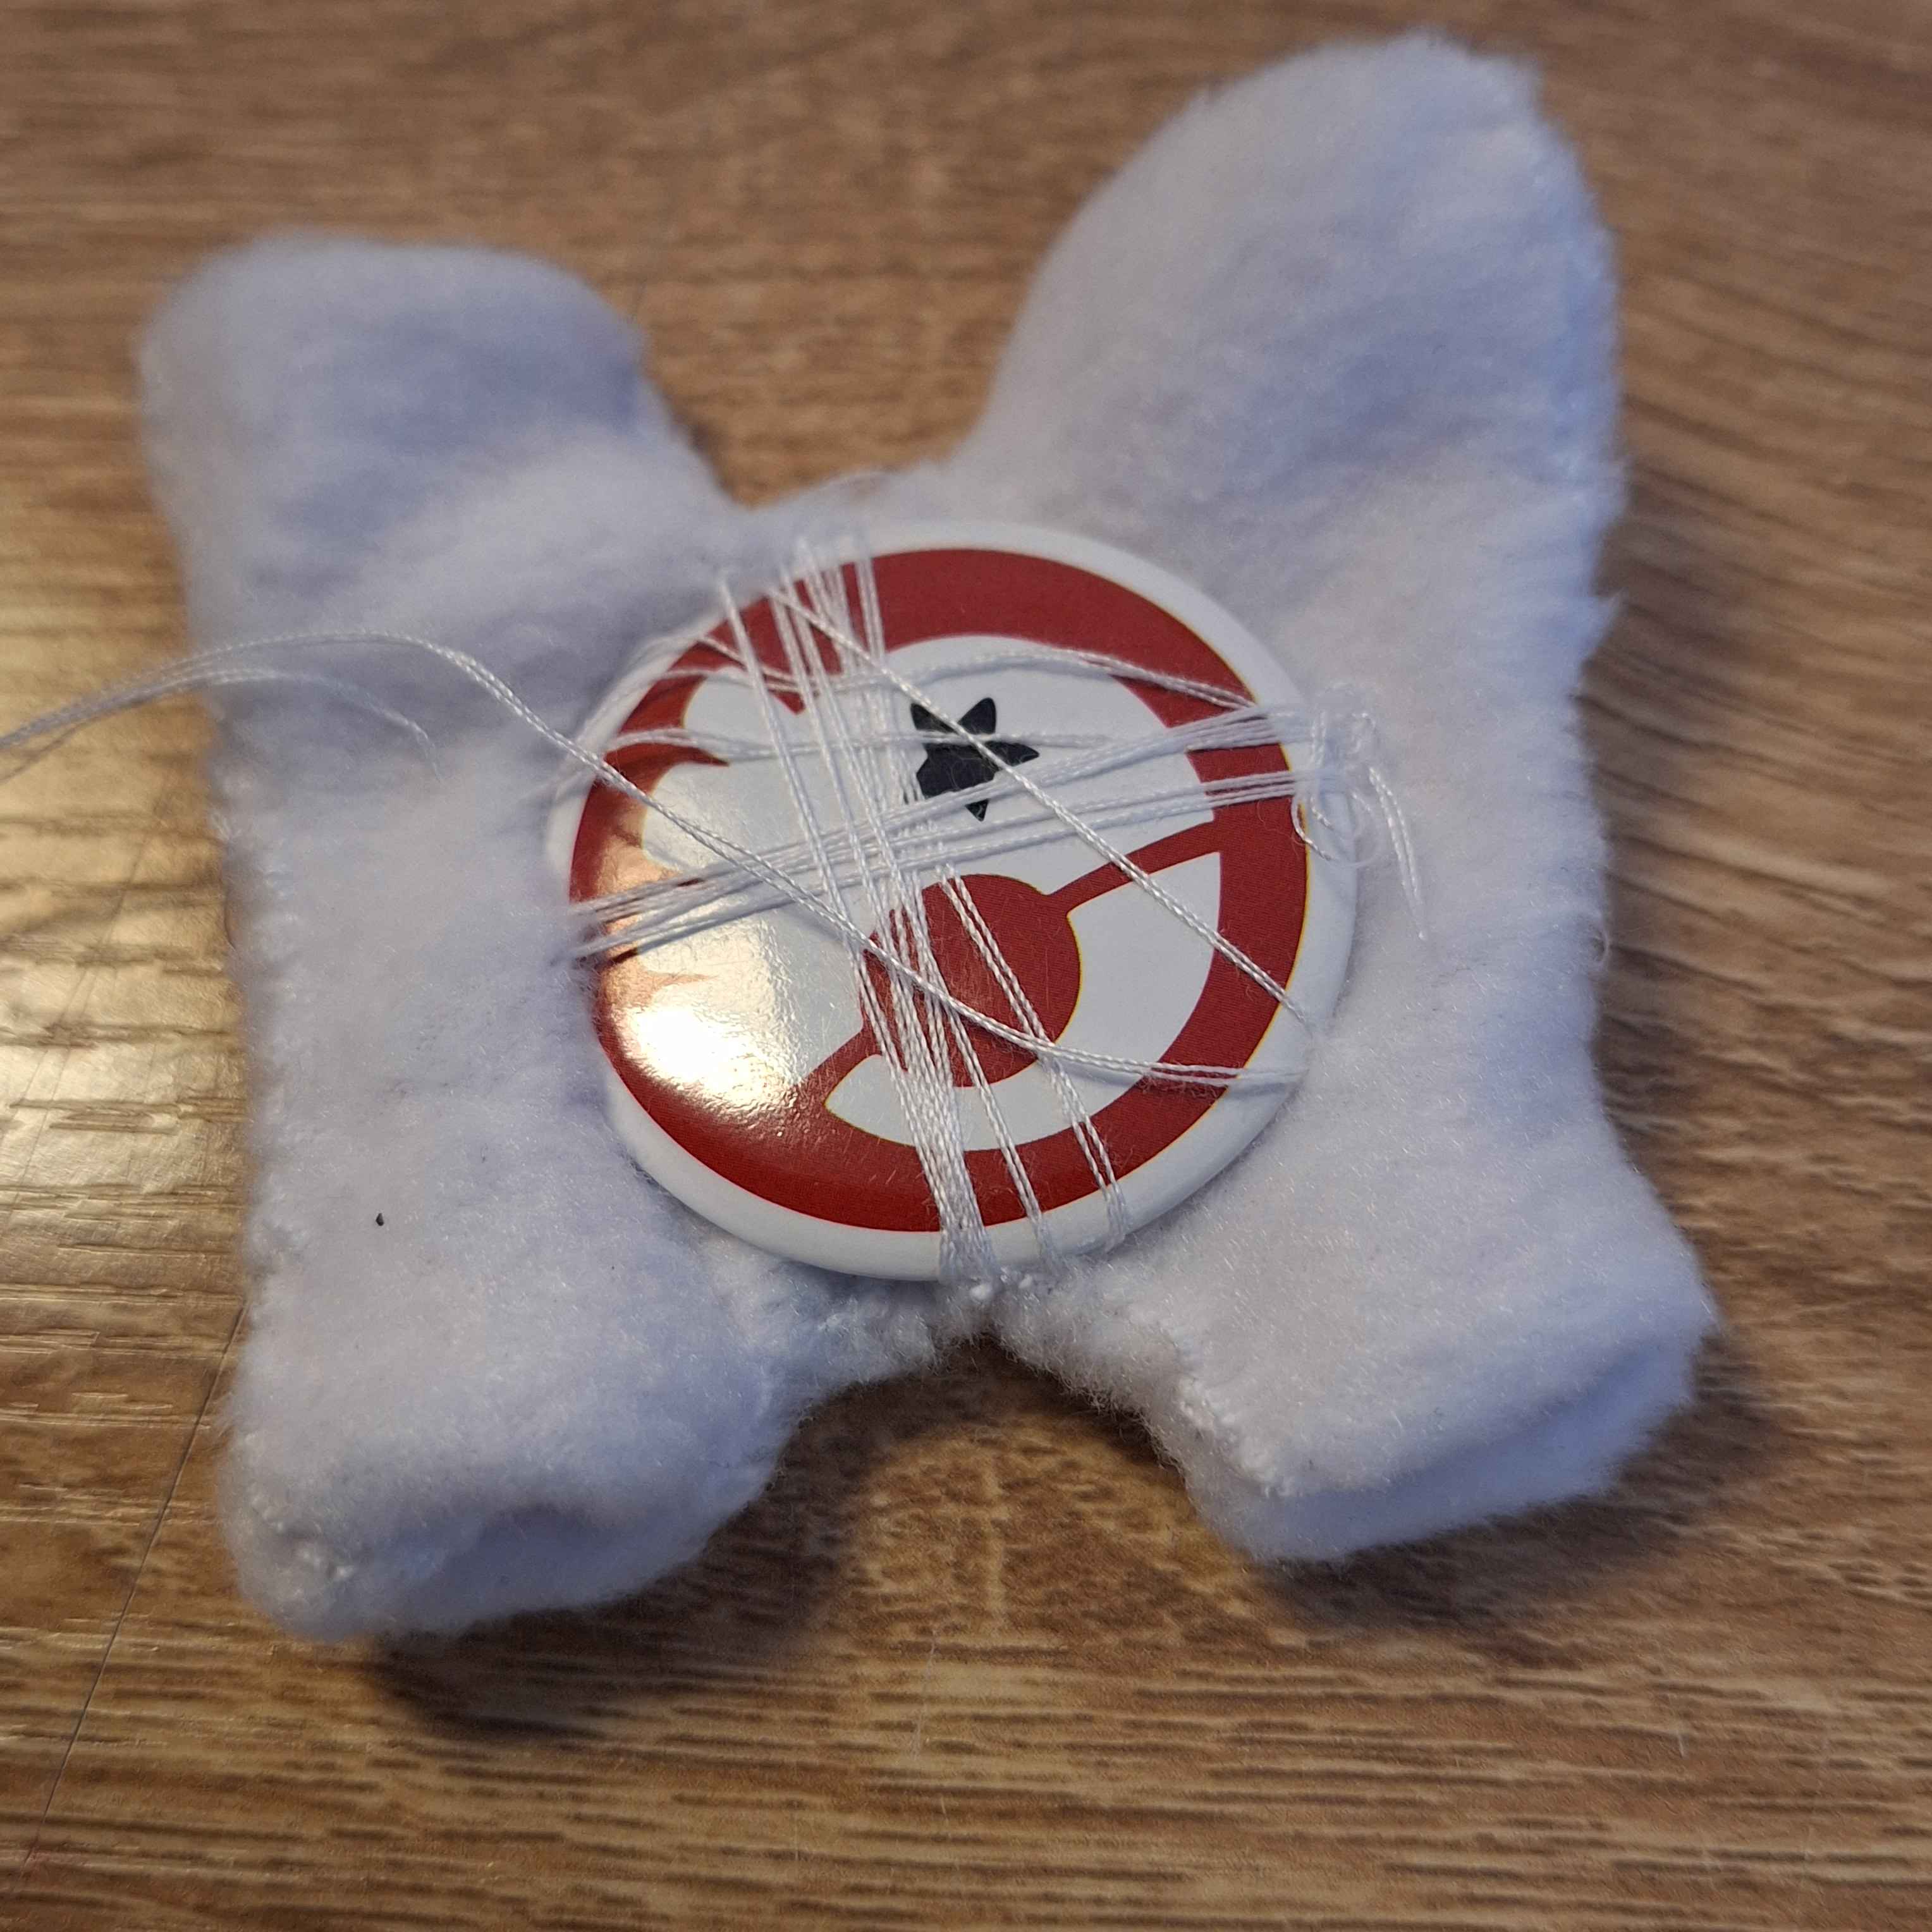
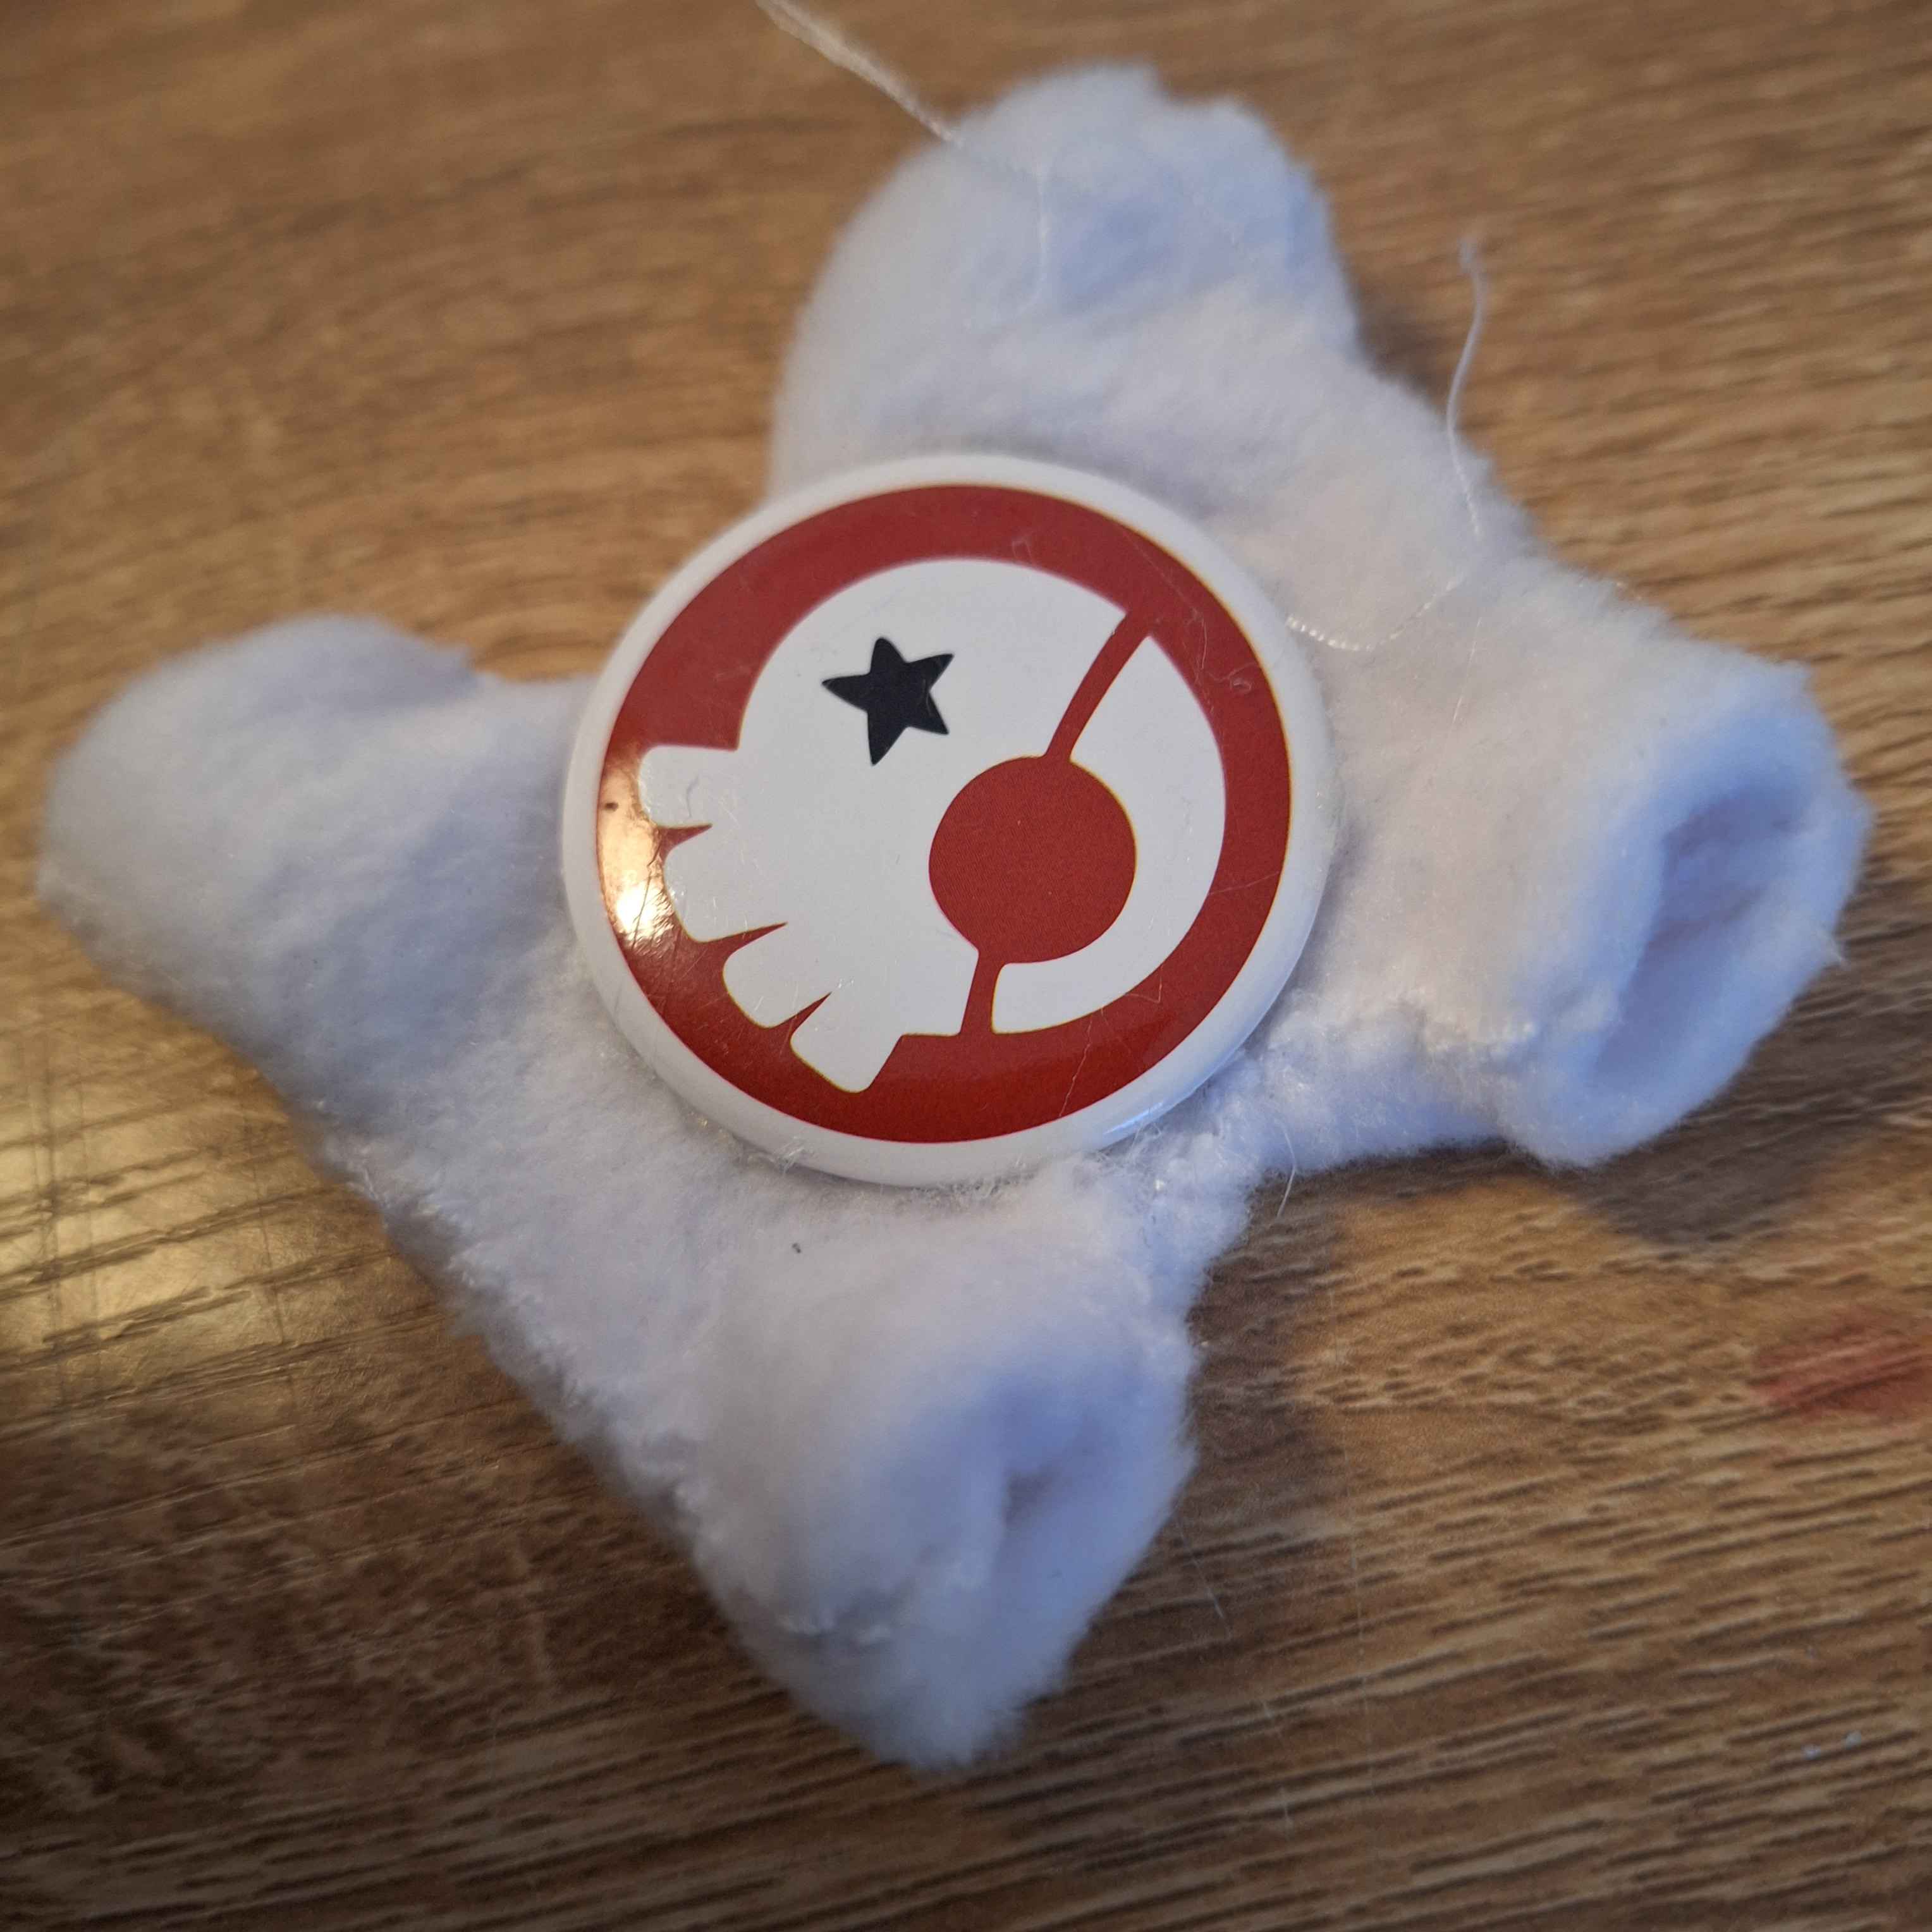
(LEFT) First attempt by sewing across to hold in place VS (RIGHT) Hot glueing badge in place
How the Sunny shoulder plush looks on a shoulder